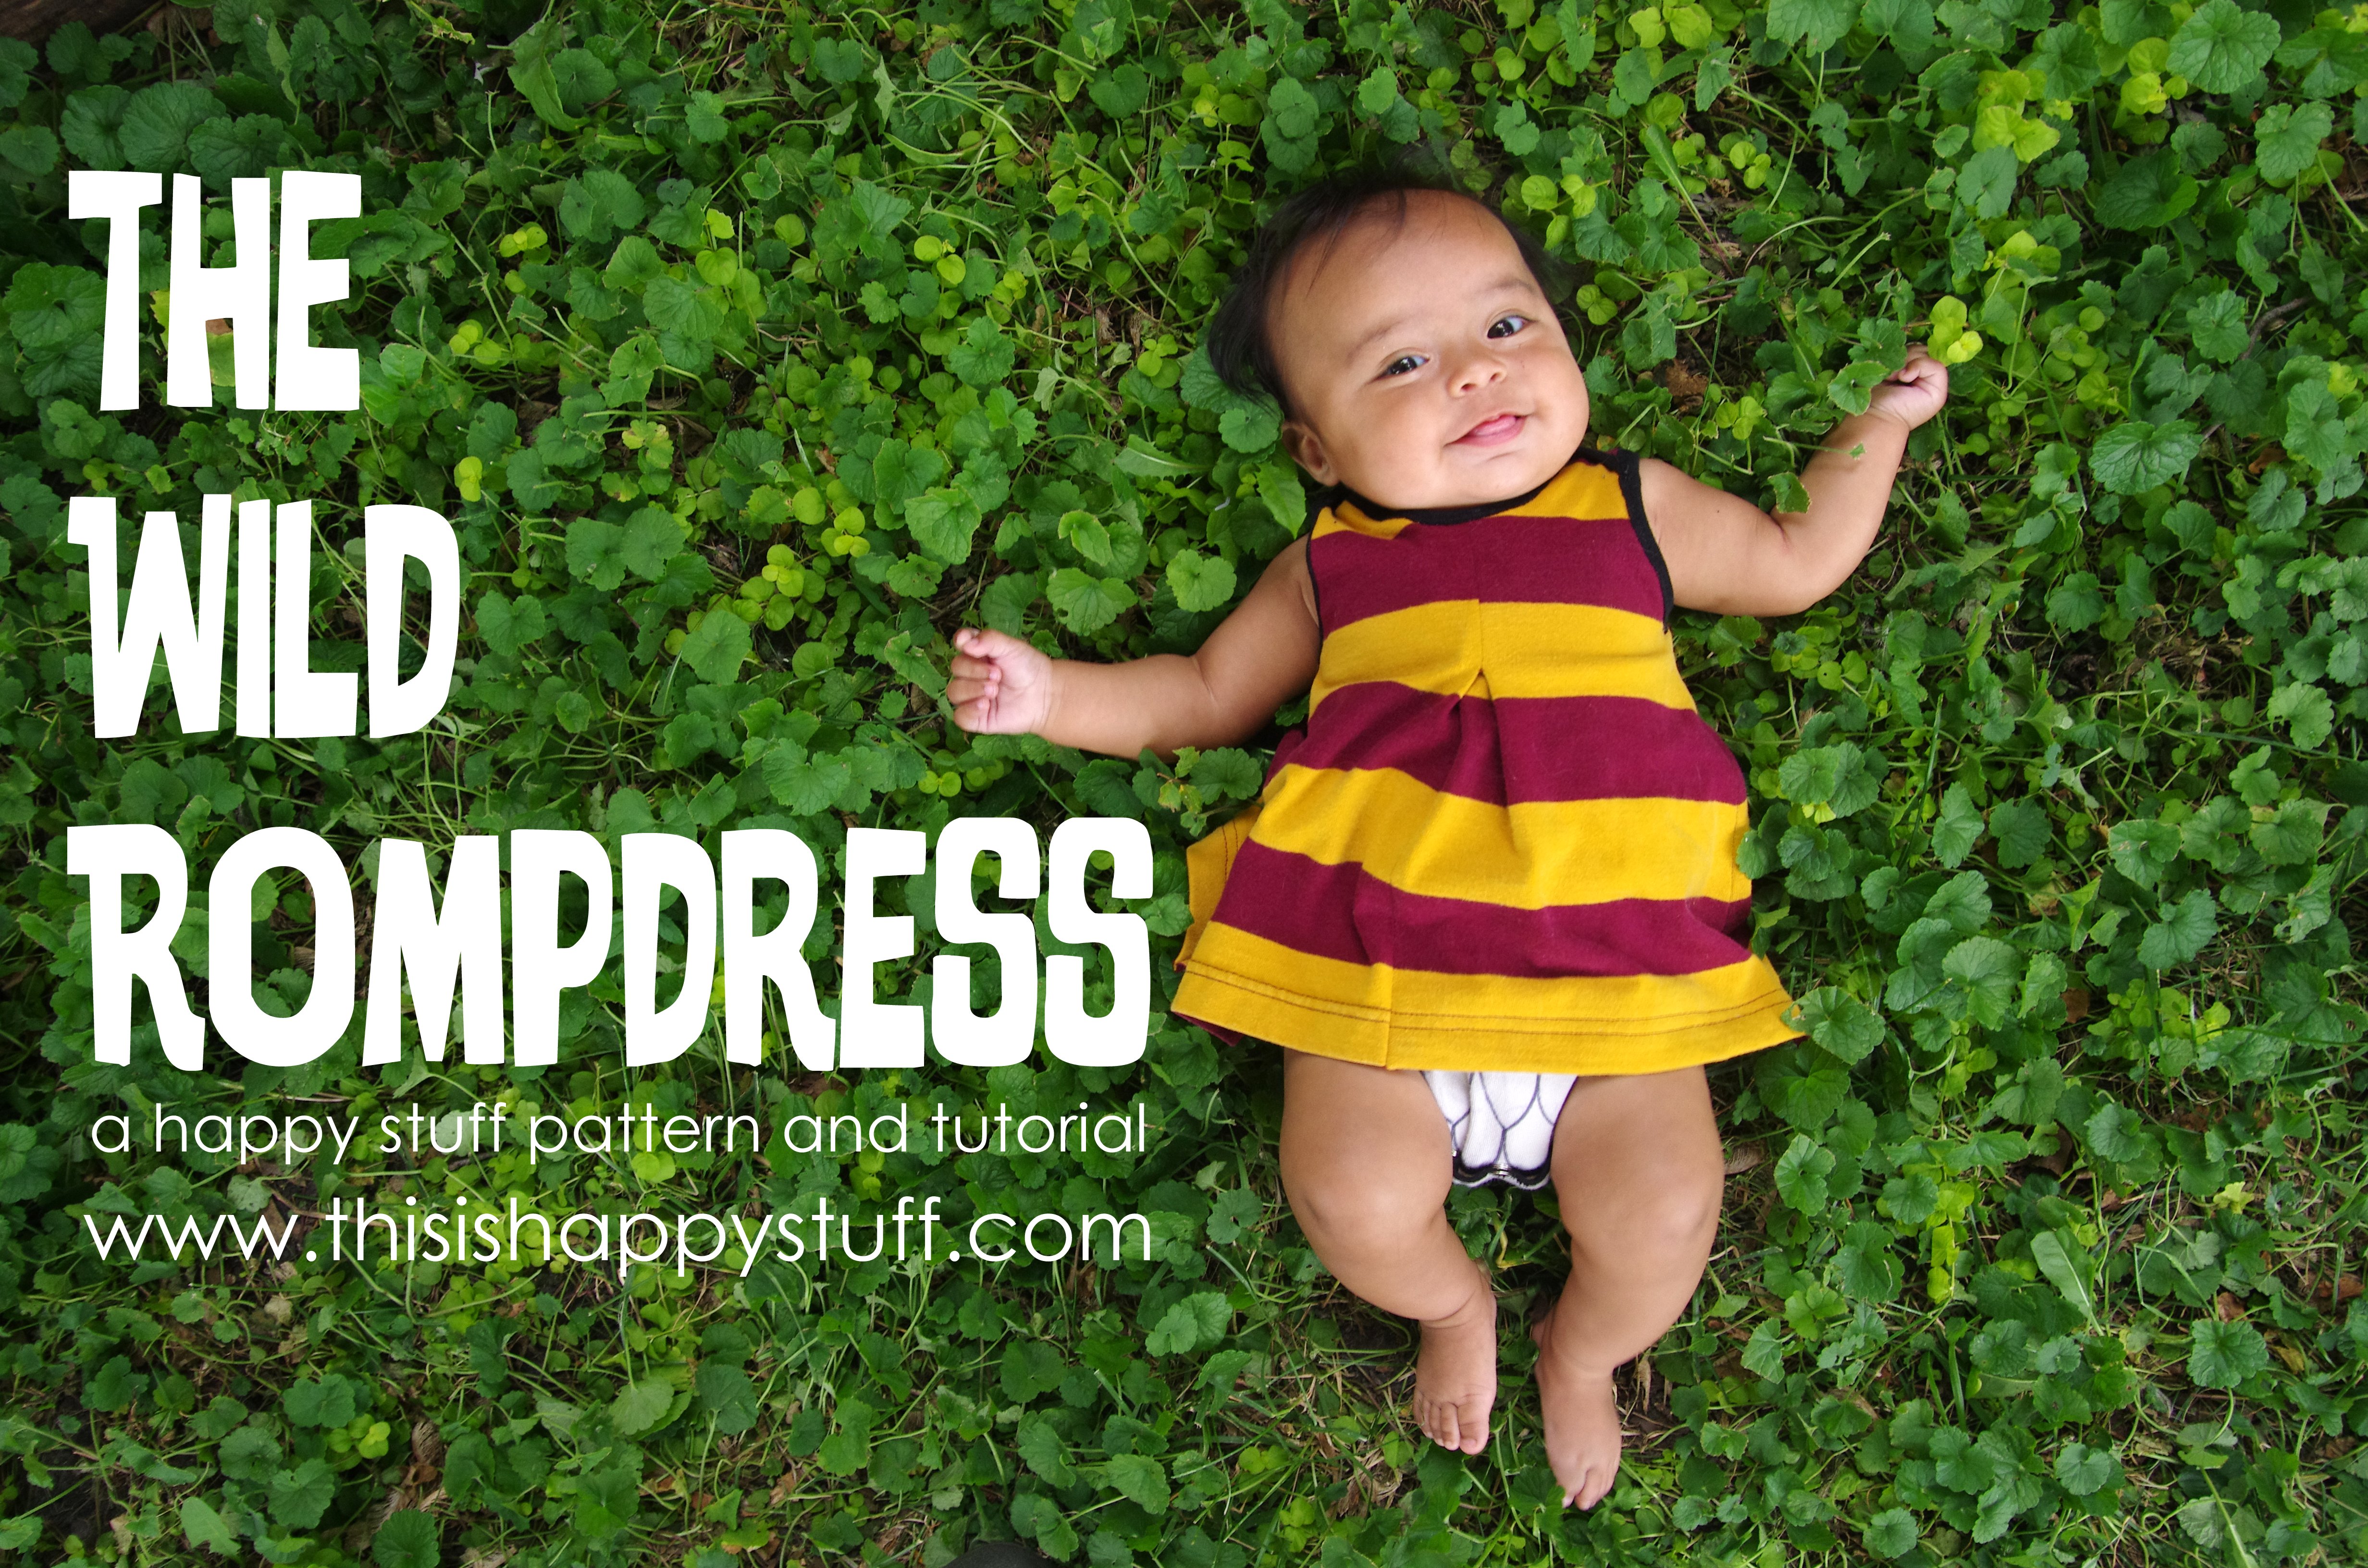
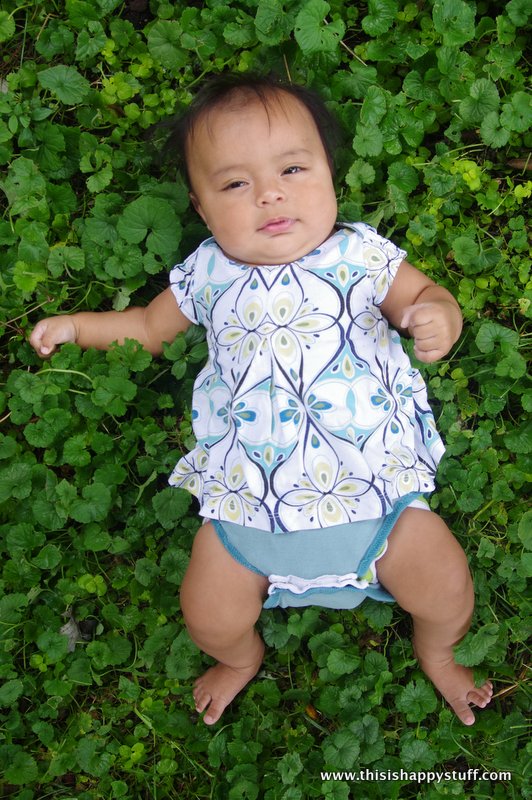
 i am sooooo excited about this new pattern and tutorial! ever since i started shopping for baby girl clothes, i’ve been loving this new (to me, anyway) concept of a dress with a full bodysuit (or “onesie”) attached underneath it. only one piece of clothing to keep track of, cuter than a plain bodysuit (also hides blowout stains better with the two layers!), better belly coverage than a dress, win, win, win!
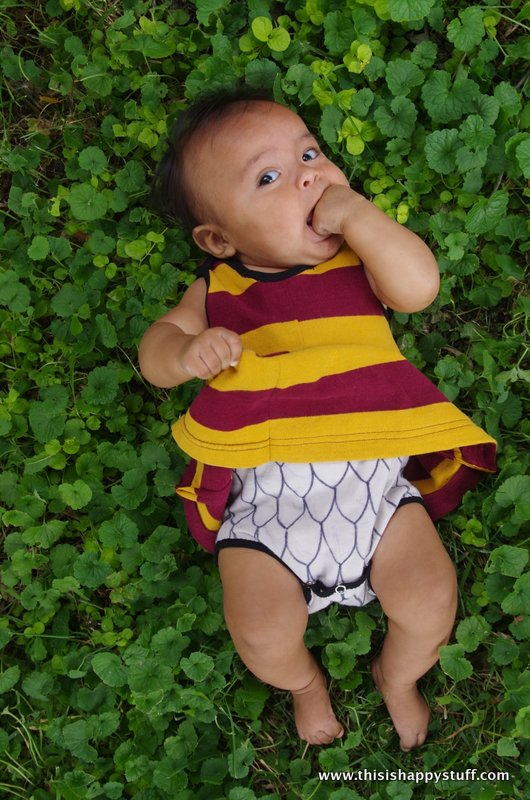 only problem? there doesn’t seem to be an industry-standard name for this article of clothing (onesie dress? (no, that’s this) romper? jumper? dress? (too general) body double? (no, that’s this)) and so i was unable to find any online tutorials or patterns for how to make one. so…. i designed one myself. and came up with this name and i’m sticking to it. without further ado, i now present…. the wild rompdress!
supplies needed:
pattern (download it here)
knit fabric (i used 2 t-shirts)
3 sets of snaps
1″ wide strip of rib knit (a yard long or so)
+———————————————–+
prepwork–Â print and assemble the pattern like this:
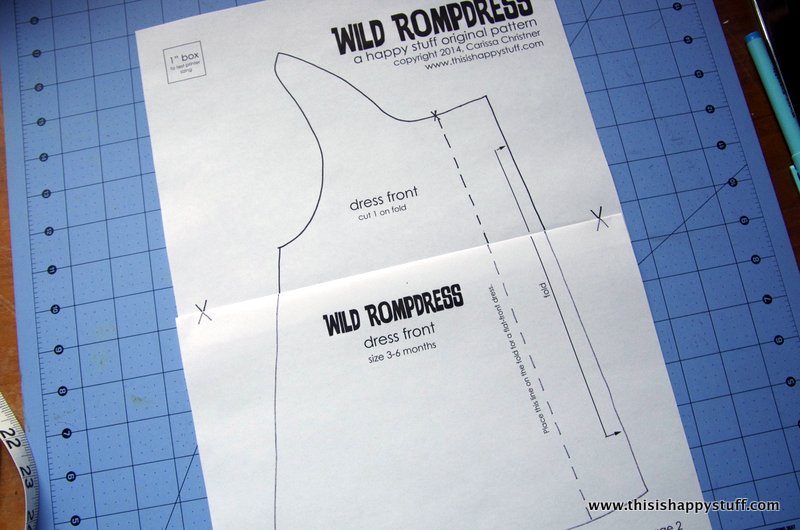 a note about sizing–this pattern still sort of fits my 4 month old girl, but some of the rompdresses i’ve sewn her are starting to get a bit snug. i debated whether to call this “3 month” or “3-6 month” and, well, as you probably know, not all 3-6 month babies are the same size, and there is no industry-standard size, so… i think it will fit most 3 month old babies, and might fit petite 6 month olds. in general, softer, stretchier knits will be more forgiving in the size and fit.
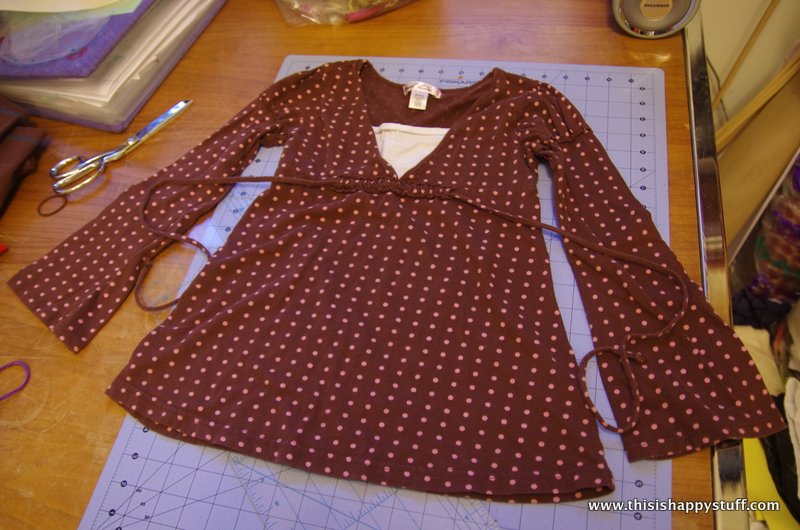
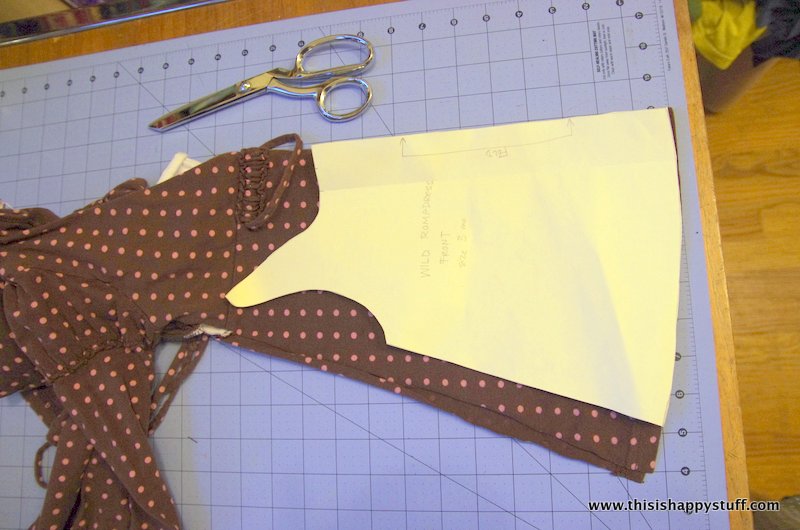
1. cut out the dress. here’s the original shirt i cut dress pieces from (the curved hem is helpful, but not required):
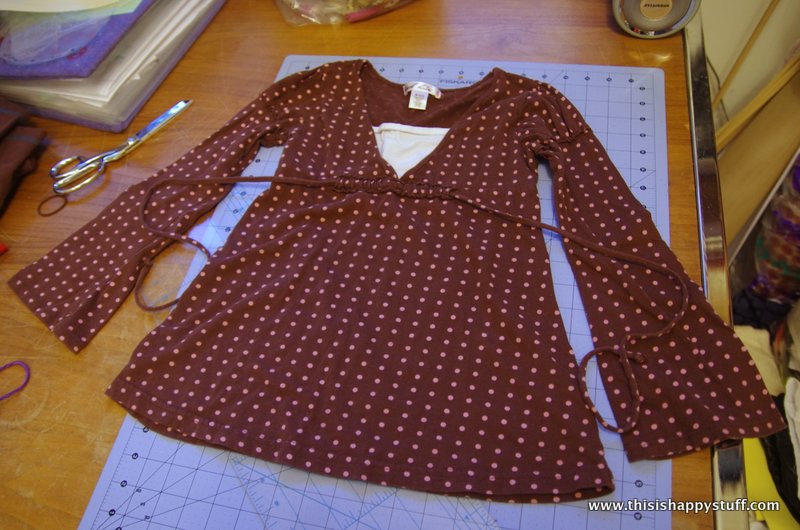 and here’s how i laid the pattern piece on it (note: this is only through the front layer of the shirt, not both). (also note: if you are making the flat front option, fold the pattern on the pattern’s dotted line and place that line on the fold)
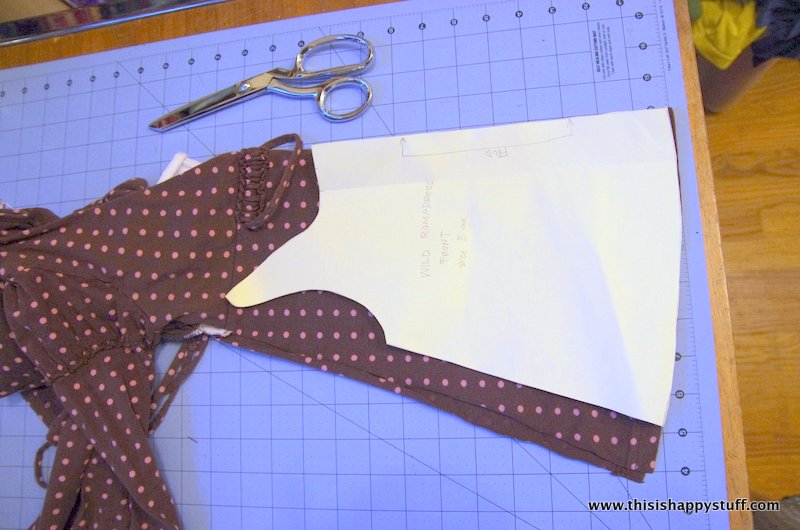 make a tiny clip where the pleat is marked:
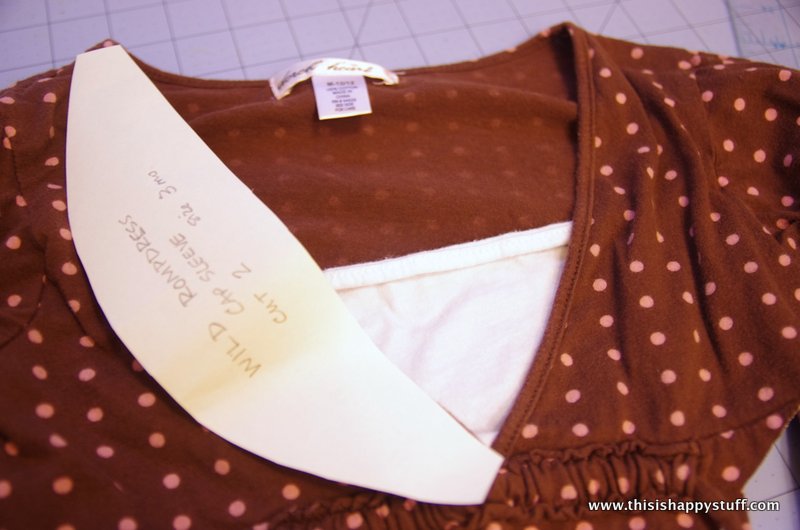
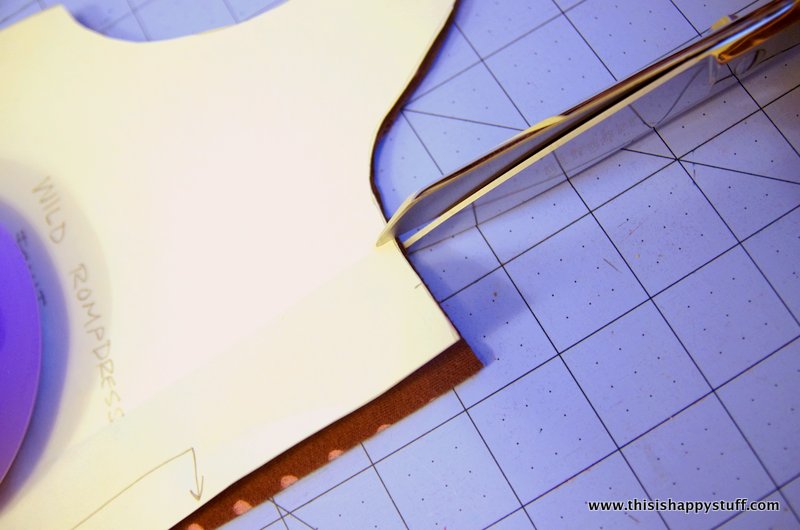 for this one, i chose to include sleeves. i liked the bound edge on the shirt’s neckline and decided to use it as the hem on the sleeves. for another version, i liked the pintucks on the bodice and incorporated those on the sleeves. get creative!
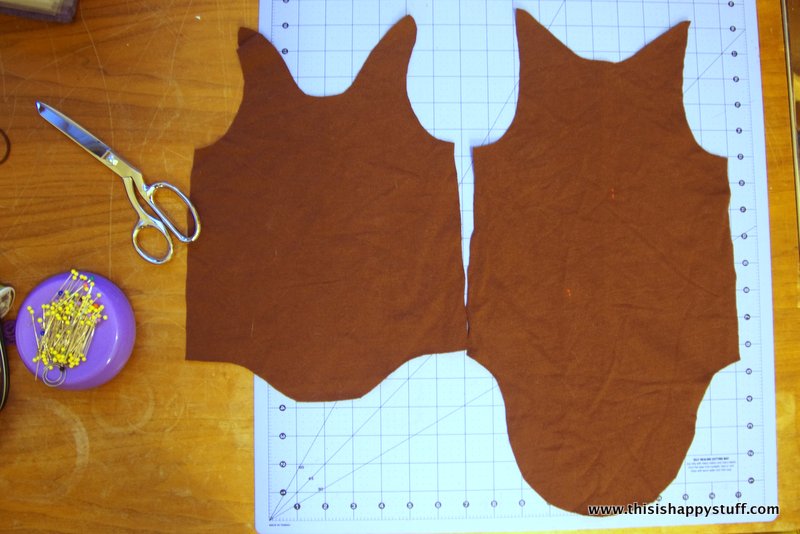
when all the dress pieces are cut out, you’ll have this:
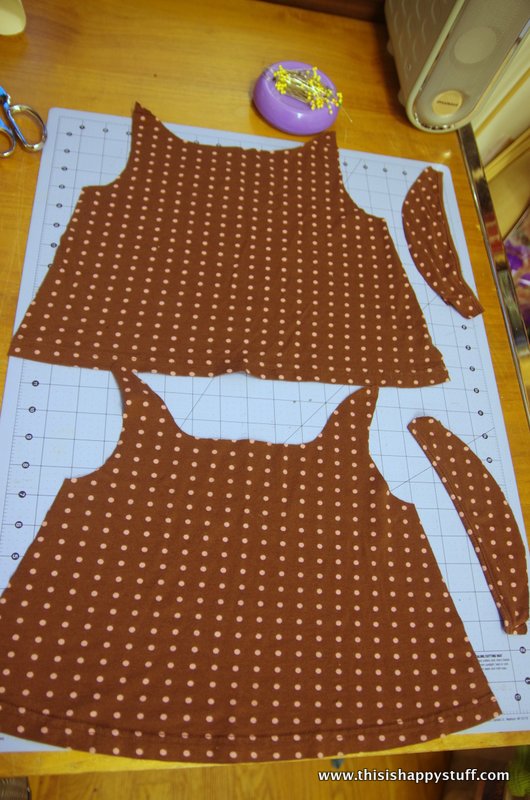
2. cut out the bodysuit. i cut this one from a pair of stretchy pants: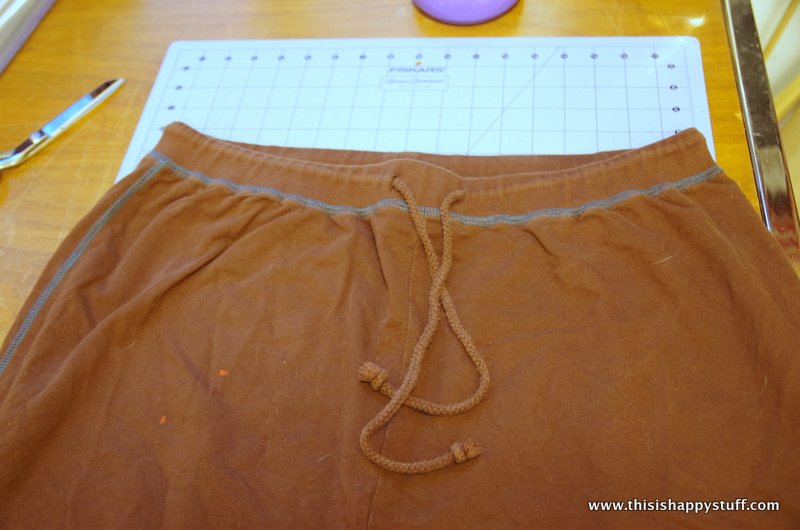 there was a little bleach spot on the pants, but that’ll be underneath the dress and no one will ever see it, so no worries! when your bodysuit pieces are cut out, this is what you’ll have:
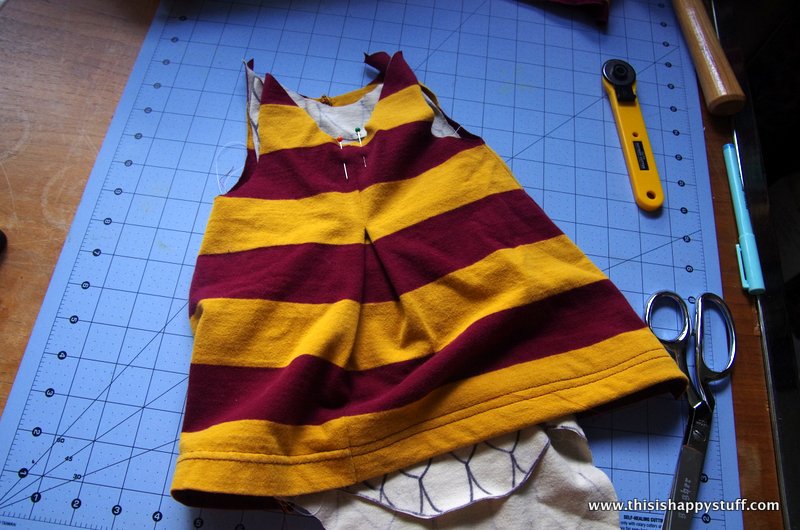
3. sew pleat detail onto dress. (note: if you’re making the flat front option, skip this step)  mark a 3″ line where you’ve clipped the fabric, parallel to the center fold.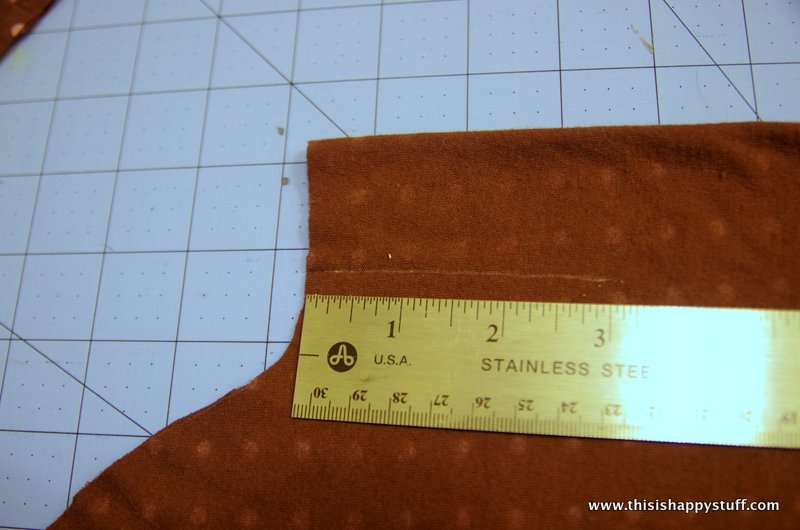
sew on that marked line: 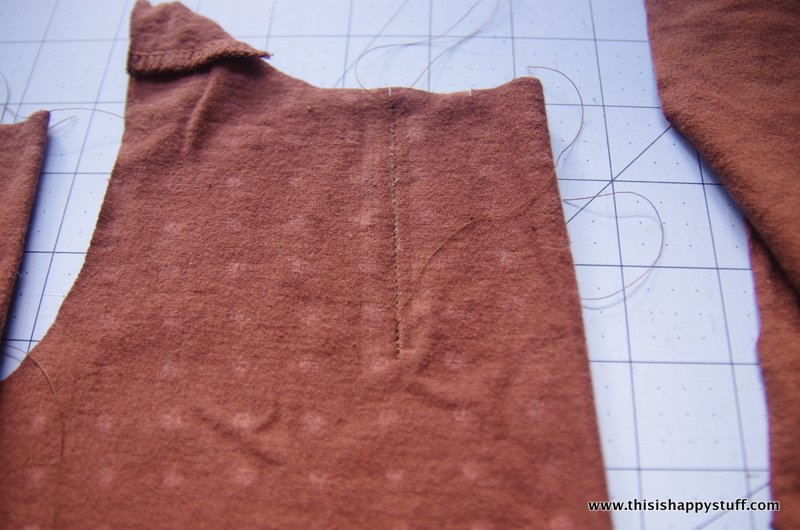
mark the center fold with a pin, then match the pin up with your seam to form the pleat.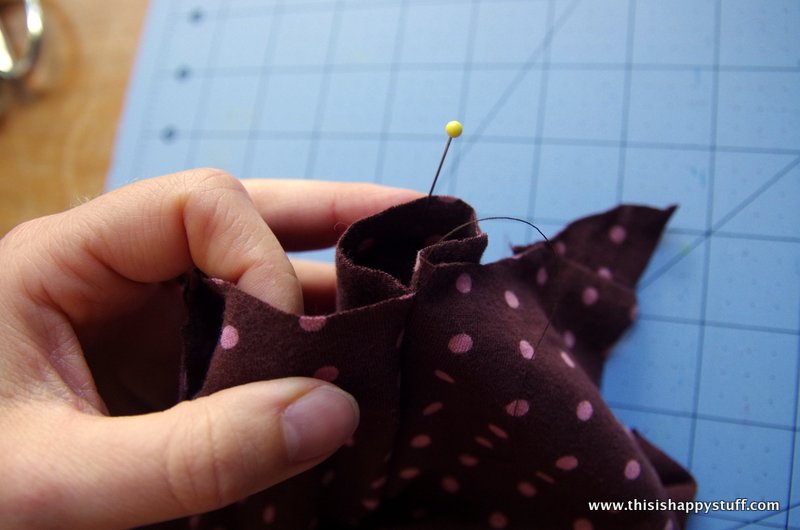
press the pleat flat and pin it. 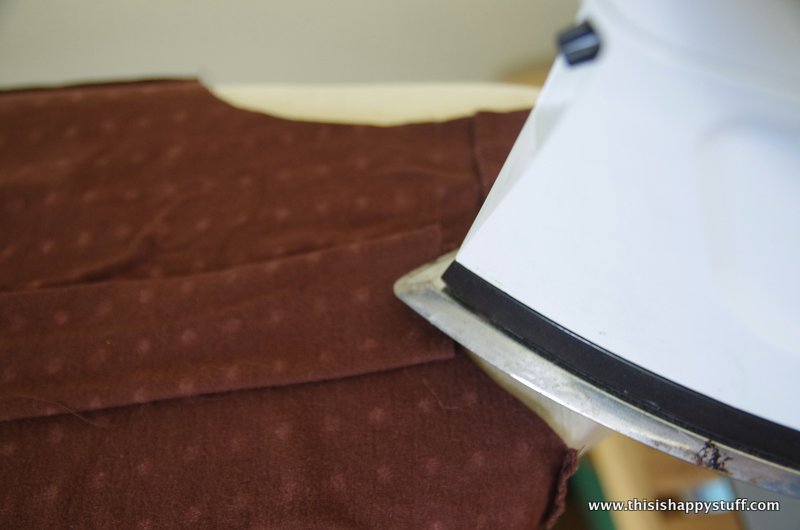
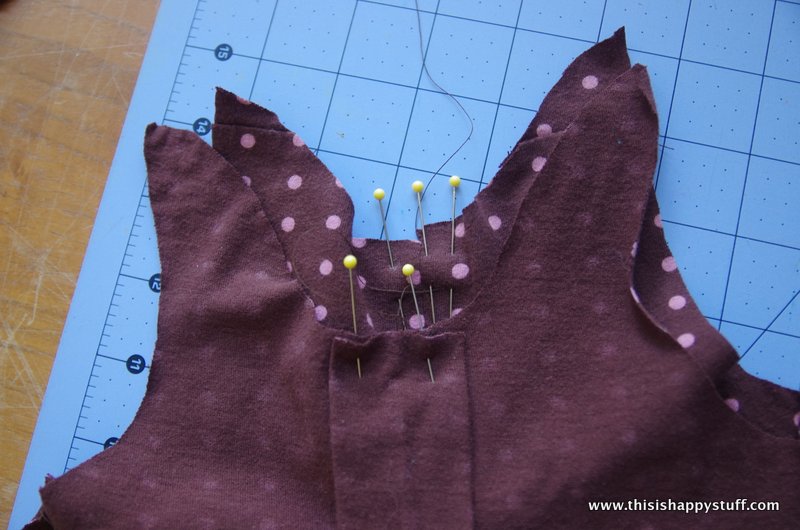
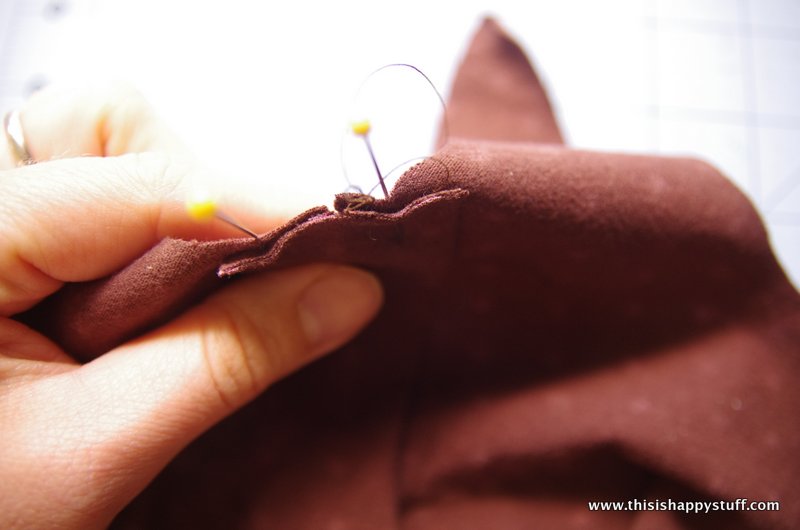 i find it helpful to put two pins in the front, and three pins in the back to help keep front and back clear for the next few steps.
 4. sew side seams.
i wanted to note here that since i preserved the original shirt hems on the dress and since the curve was different than the pattern, when i lined up the side seams for this step, the arm holes didn’t line up. it’s more important that the hem line up, so…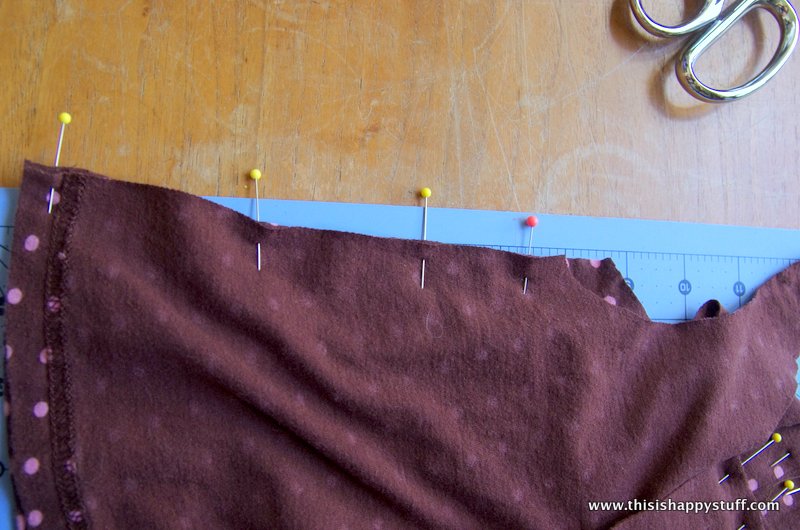
just trim the arm hole to match up and you’re good to go! 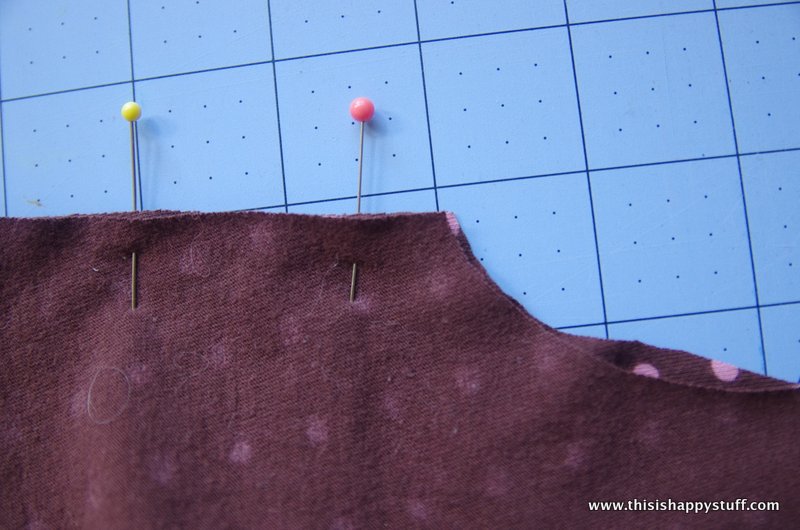
 Â once your side seams on both the dress and body suit are sewn, press them open.
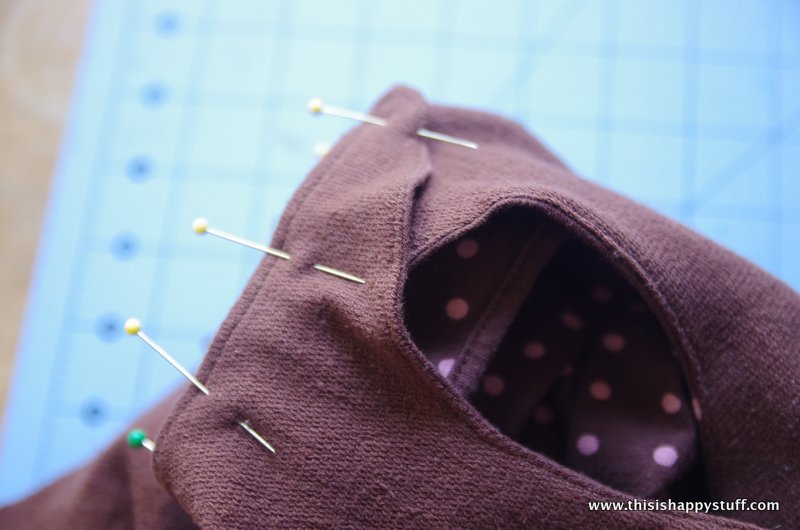
 once your side seams on both the dress and body suit are sewn, press them open.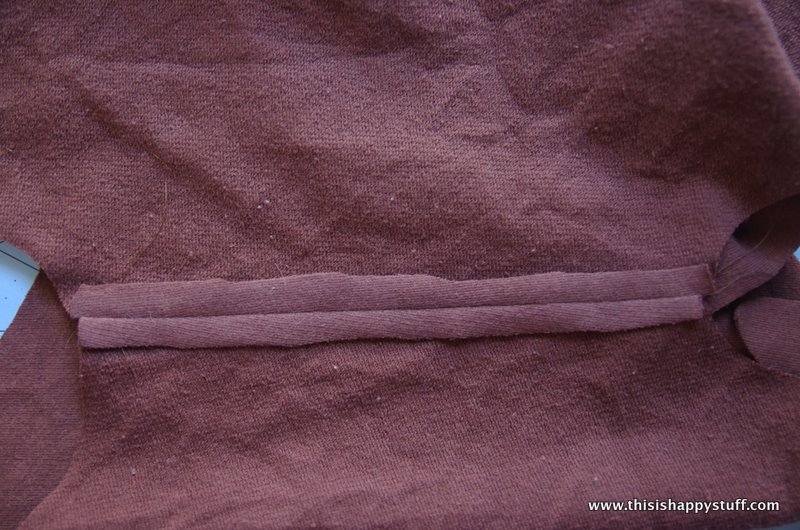 5. sew the neckline. this step will connect the dress to the bodysuit. you have two choices here– with seam binding or without. the brown polka dot dress you’ve seen so far in this tutorial was sewn without, so i’ll show that option first.
option a:Â finished edge (no seam binding)
the trickiest part of this entire pattern is figuring out how to orient the two pieces when you sew them together. especially if you’re choosing option a. so just trust me when i say that you want to turn both pieces inside out and tuck the bodysuit inside the dress so that the pressed seams are both facing you (not facing each other).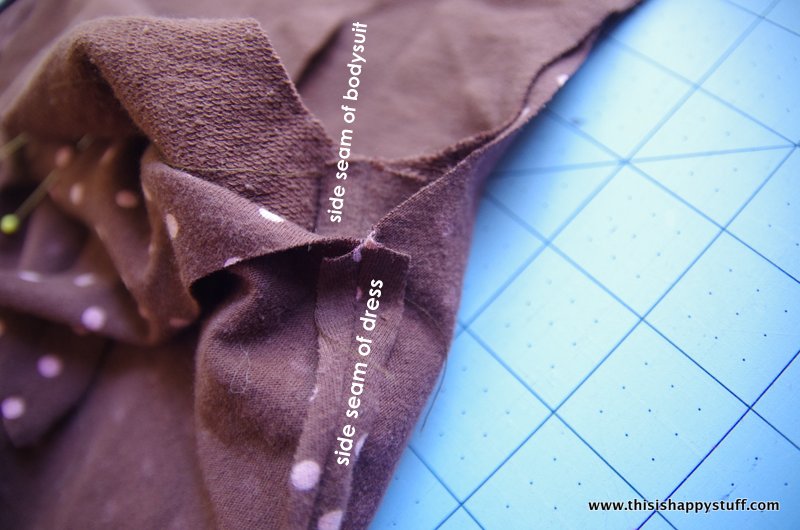
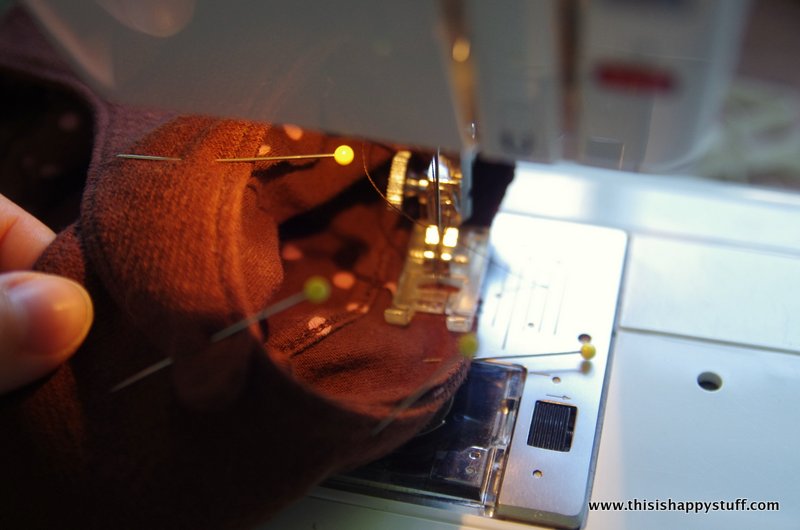
sew a 1/4″ seam around the neckline only. in this example, i also sewed the armholes, but it ended up making the dress a little too snug, so please don’t make that same mistake.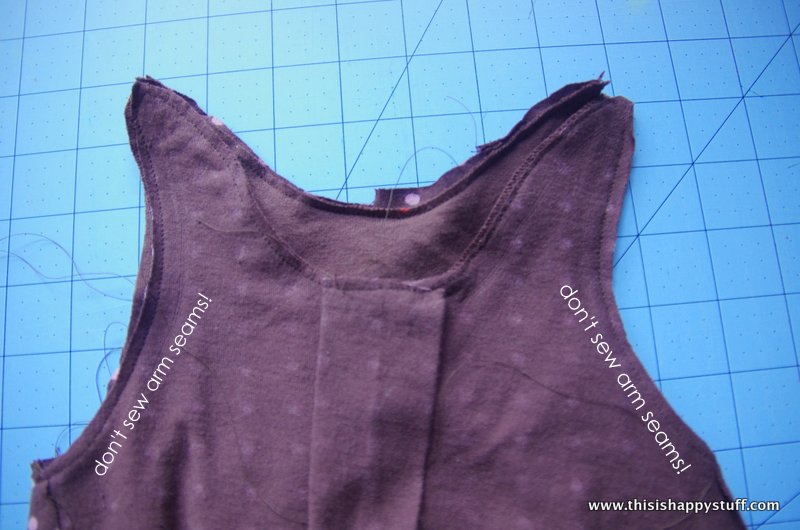
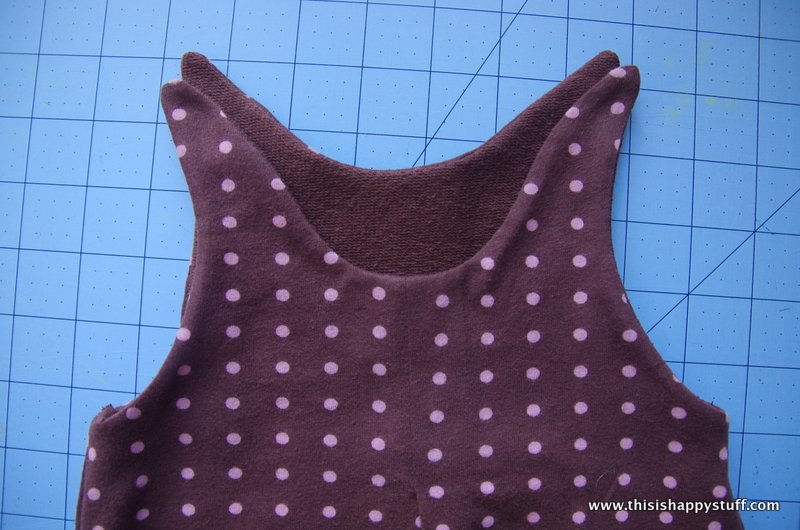
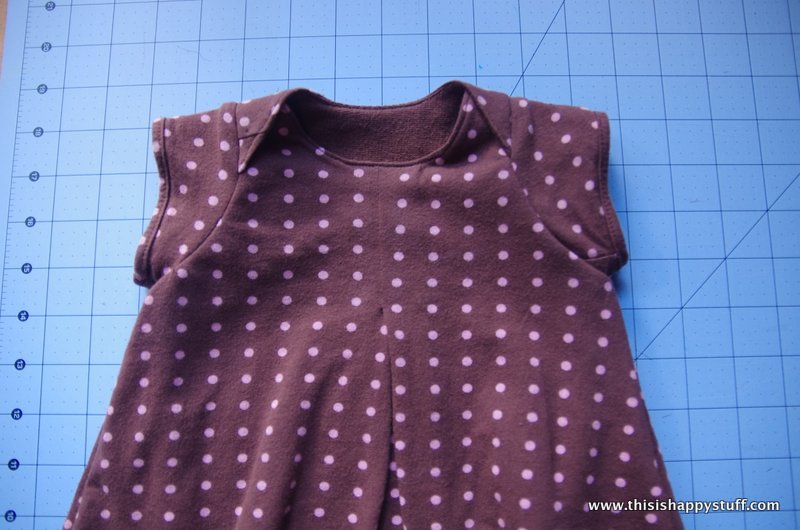
once the seam is sewn, turn the dress right side out, press the seam flat and crisp, then top-stitch right next to the seam (again, only around the neckline).
 option b: seam binding (this one is less confusing!)
for this option, just tuck the bodysuit (right side out) inside the dress (right side out) so that everything is oriented exactly the way it will be in the final outfit.
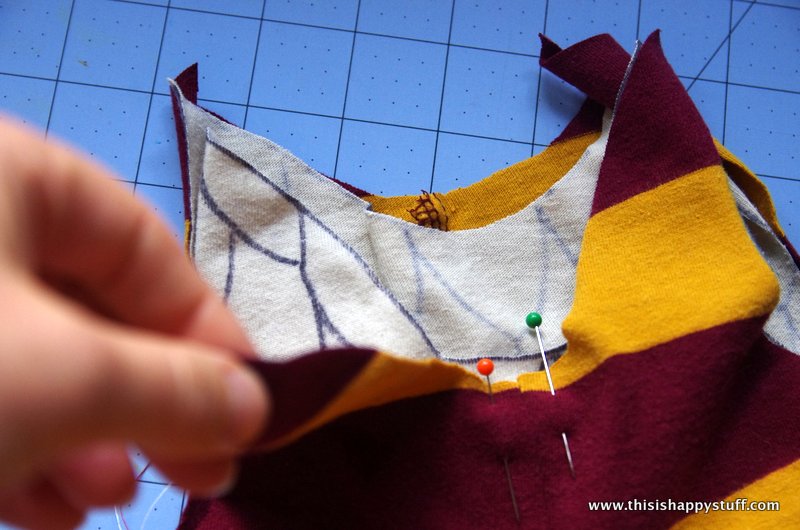
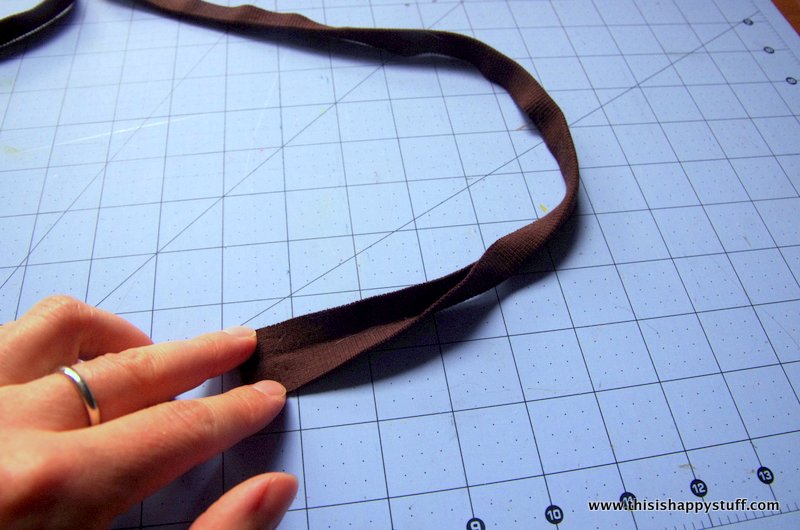
 baste the two layers together with a 1/4″ seam. cut a 1″ wide strip of rib knit and press it in half to create the seam binding:
 sew this rib knit seam binding along the neckline with a zig-zag stitch that overlaps the unfinished edge of the rib knit. stretching the binding a bit as you sew (and not stretching the garment as you sew) will result in a smoother finish.
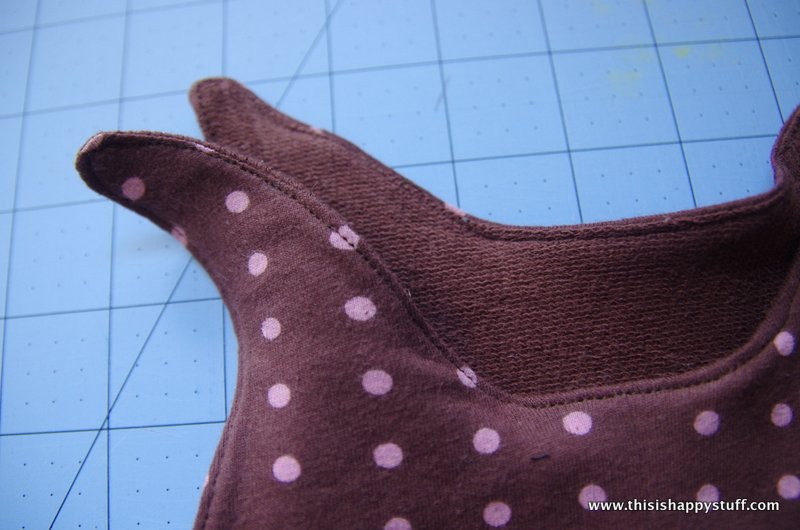
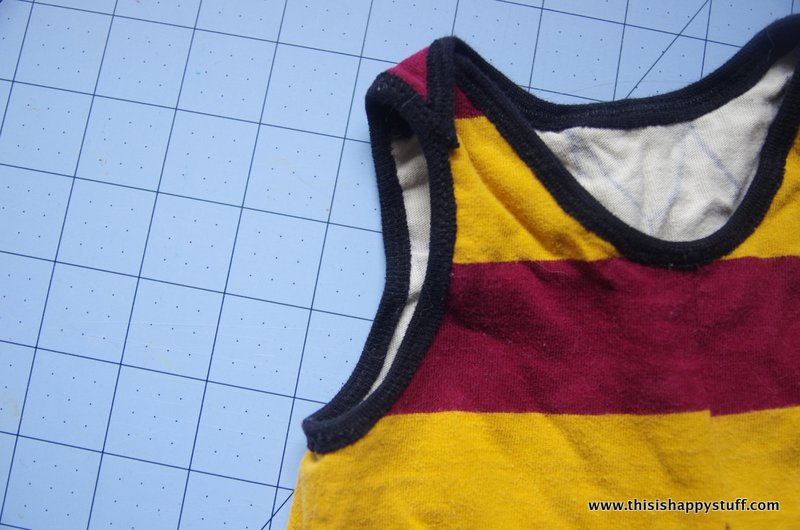
 (see that armhole above? that’s what it should look like instead of the photos of the brown dress, no matter whether you choose option a or option b)
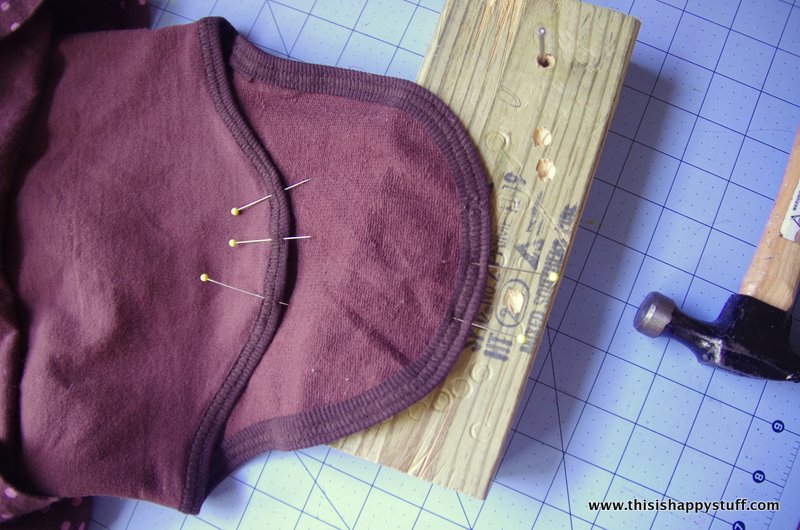
6. finish the sleeves (option 1) or armholes (option 2)
option 1:Â sew a seam on the sleeves and press open:
 match up the unfinished edge (the curved edge) to the armhole on the dress. start by lining up the sleeve seam to the side seam of the dress (right sides together). then, continue to pin the back of the dress to the sleeve. once you’ve pinned the back, pin the front.
 it should overlap the back like this:
 tuck the sleeve under your sewing machine foot and sew all the way around:
 repeat on the other side, then turn it inside out and it should look like this:
 note: if you have access to the intended recipient of the rompdress, now is a good time to try it on. if the arm holes or neckline are too tight, you can fix both of those issues by increasing the circumference of the sleeve. if you just need a slight adjustment, rip out the sleeves, sew a narrower sleeve seam and repeat the sleeve-setting steps above. if you need a lot more room, try adding a bit of fabric between the seams of the sleeve to extend the circumference further. as long as the front and back of the dress/bodysuit overlap a bit, it will still work fine!
option 2:Â armholes
the easiest way to finish the armholes is to overlap the front and back at the shoulders (with the back flap on top) and pin in place. i measured the circumference of the armholes and found them to be about 9″ but as long as your two sides are the same, and as long as the rompdress fits (see note above about how the size of the armholes determines the fit of the dress) then finish the edges with seam binding similar to the neckline shown. 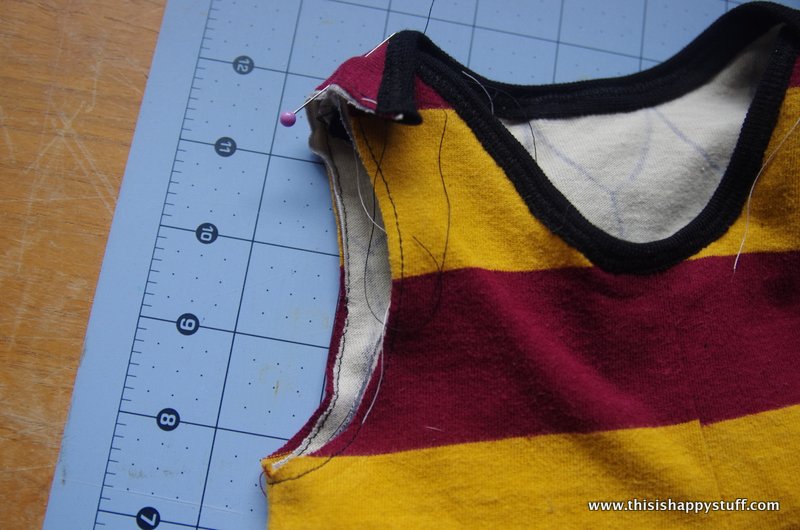
7. finish the bottom of the bodysuit using more rib knit seam binding.
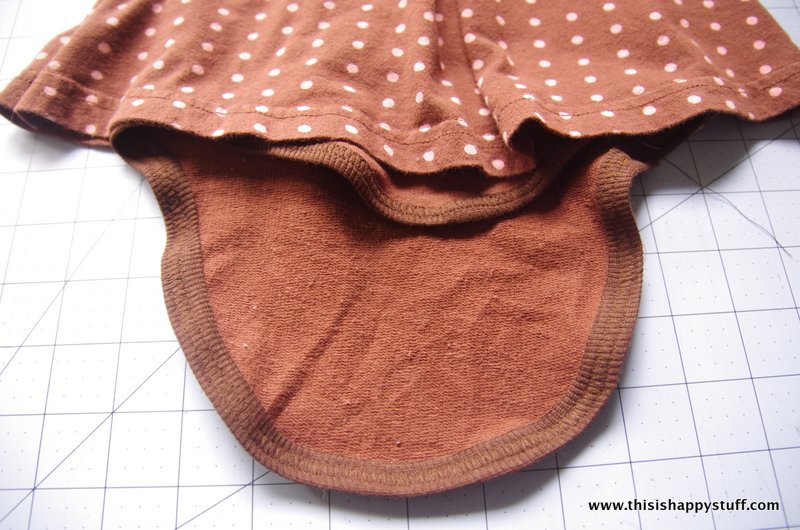 add snaps (see tutorial for how to set snaps here). i usually fold the bodysuit in half vertically to find the middle and place one pin on the middle front and one on the middle back. then, measure about 1″ to 1.5″ away from the middle pins and place pins there. add snaps where your pins are.
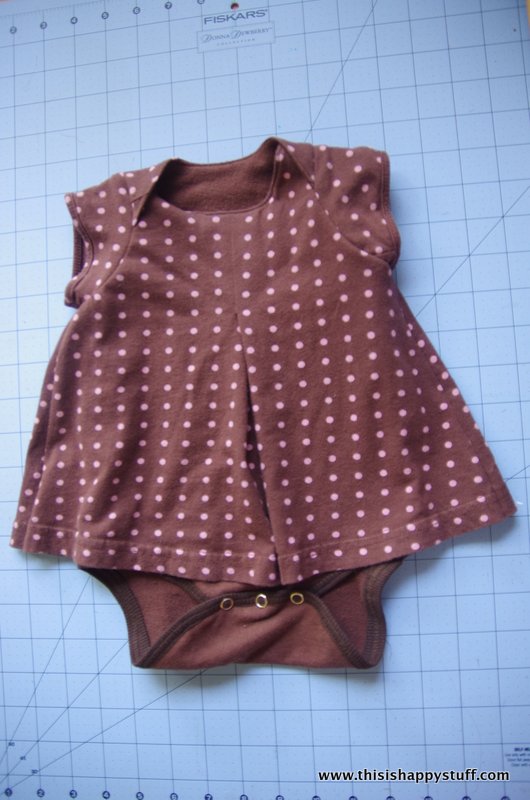
 8. stand back and admire your work. it’s done!
 here are a few other examples i’ve sewn up:
the flat-front option (in this example, the teal fabric is a rib knit and the stripe is a regular stretch jersey. i don’t necessarily recommend doing this as it was very difficult to keep things from stretching out of shape, but it did result in the largest size of the samples i made!)–
 the first one i made:
here are the pintuck sleeves i mentioned earlier: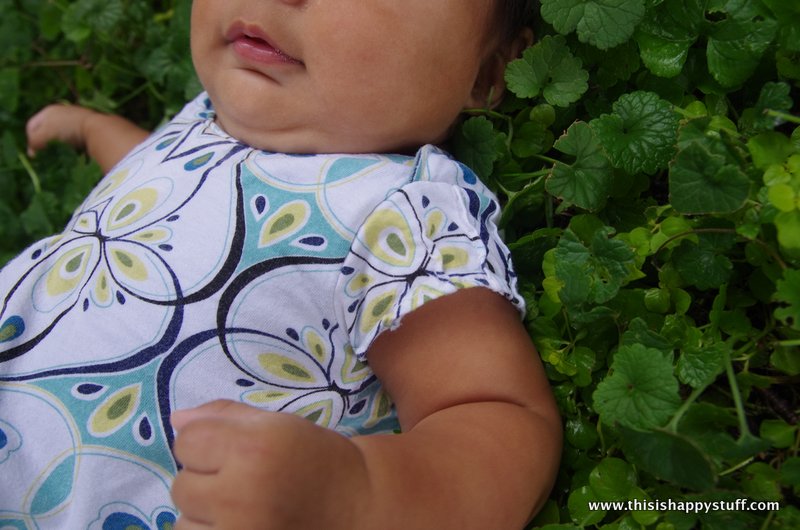 and i was out of snaps and impatient to finish this one, so i just cut snaps out of an old white onesie. not the most attractive option, perhaps, but if you don’t want to mess with setting your own snaps, this is a perfectly serviceable option!
 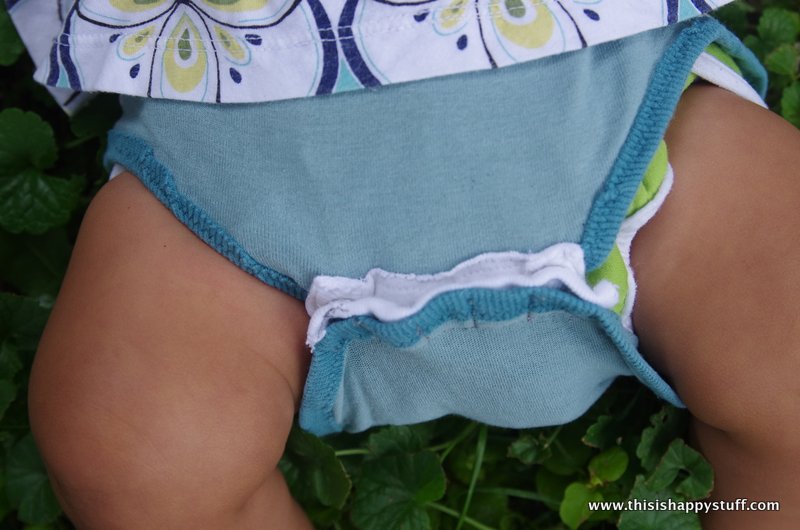 since this was the first one, the first iteration of it had a bodysuit that was way too tight (i’ve fixed that in the pattern that you’re using), so i added these side panels with the dress pattern. i actually kind of like that detail, and if you do too, just piece your fabric together before cutting out your pattern.
  and one more, just for cute’s sake:
 i would love to hear your feedback on this pattern and see any garments sewn from this pattern. what do you call this piece of clothing? let the wild rompdress start!


