i promised you a tutorial in this celebrate the boy mini-series and here it is! one reader requested a tutorial for how to make snap tapes for the leg seam on rompers. this tutorial will work for any project that needs snap tape!
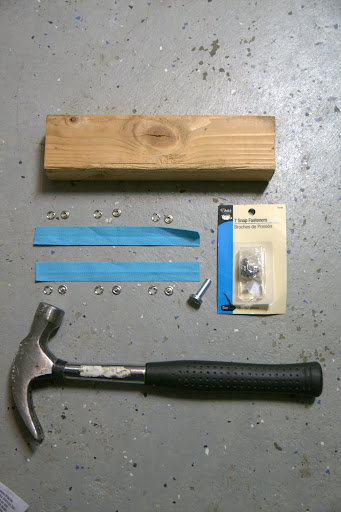
to make snap tape, you need snaps, a snap setter (usually sold with some packages of snaps), 1.5″ or 2″ twill tape, a hammer, a block of wood and a hard surface (like a floor).
first, figure out the placement of your snaps. if you’re a very careful person, this will involve a lot of measuring, math and marking. if you’re a little more slapdash like me, you’ll eyeball the first half and match the second half to the first. either way, once you’ve determined the position of your snaps, choose whether you’re doing the “male” part of the snaps first or the “female.” both halves of the snap are attached with prong rings. poke the prongs through your twill tape in the spot you’d like to install a snap.

place the prong ring pointy side up on a block of wood and balance the other half of the snap piece on top of the prongs:
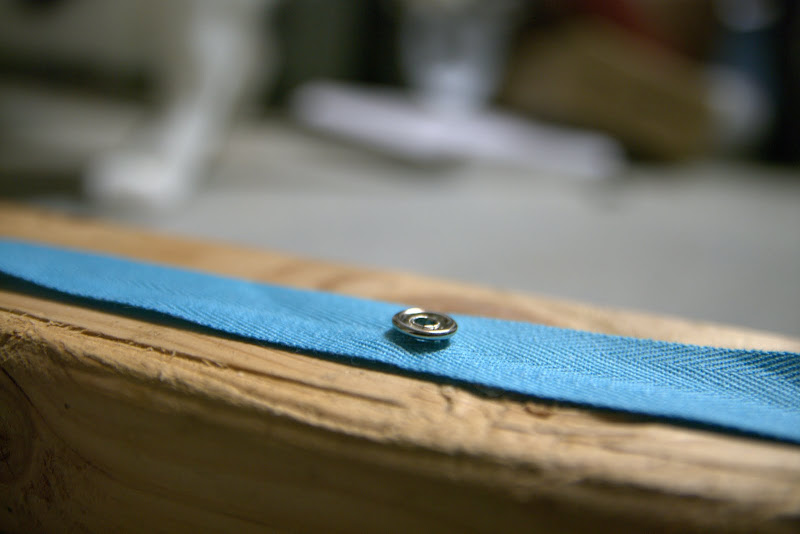
place your snap setter on top of the snap and hammer it firmly a few times.
 repeat this for all of the snaps on this piece of twill tape (use either all male or all female halves–photo shows all female).
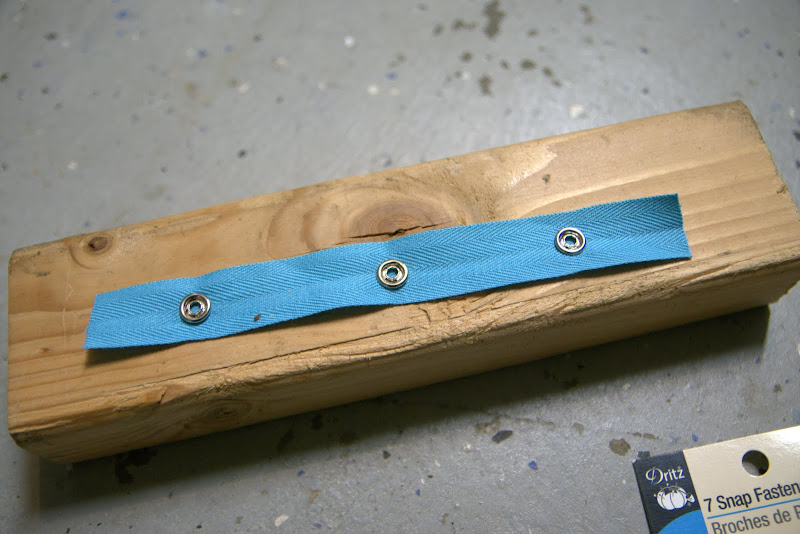
determine placement for the other half of the snaps (i.e. the male snaps) by placing the finished twill tape strip next to the empty one and lining up the snaps. repeat the above steps to attach the other halves to the second piece of twill tape.

and there are your finished snap tapes!

when i’m making rompers, i’ve found that the easiest way to sew these onto the leg seams are to first cover the legs with whatever ribbing you want to include to finish off the raw edge and to add extra detail. 
then, sew the snap tapes on top of those ribbings–to the wrong side of the front of the romper and to the right side of the back of the romper.
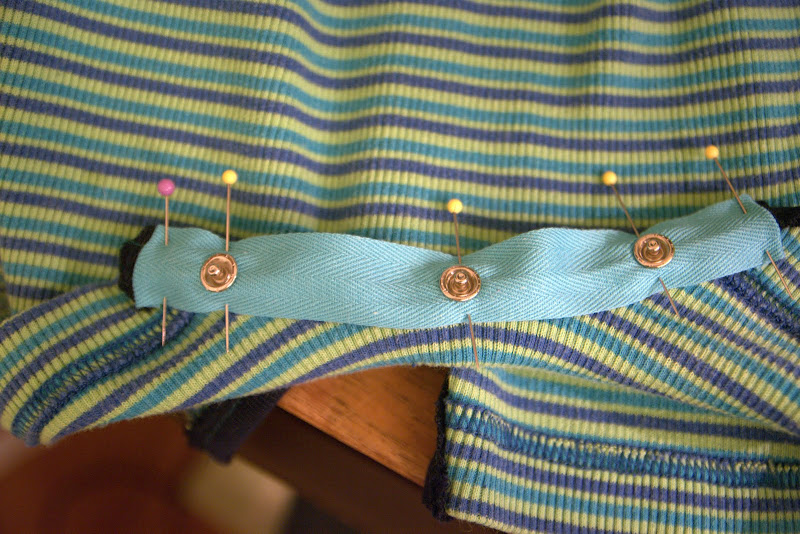
first, pin the twill tape in place (turn the ends under to prevent raveling). then sew with a zipper foot (to avoid running over the snaps).

repeat for other side:

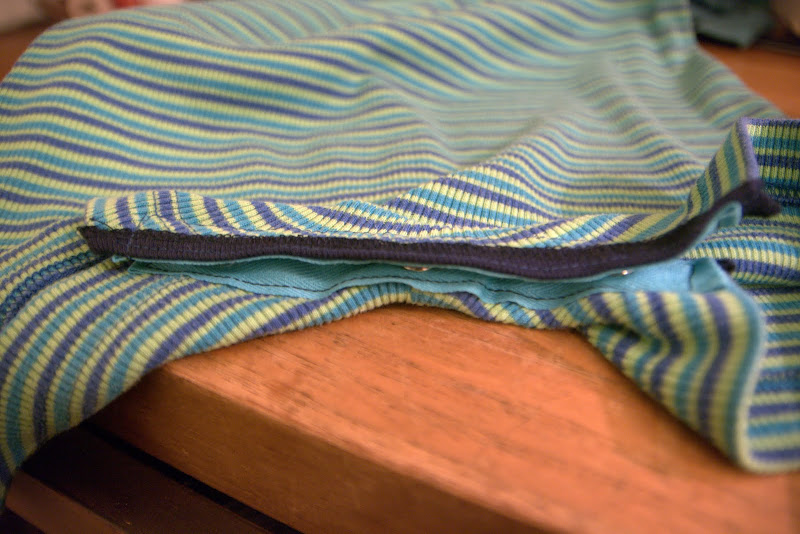
this romper’s still a bit big, but the snaps work perfectly!

![Celebrate the [summer] Boy](http://1.bp.blogspot.com/-J4TYB3BhfI8/Tekshyj-OKI/AAAAAAAAq_E/r8UxKWvikI0/s550/summer%2Bgraphice1.png)


