
way back in february, i saw this idea posted on craftzine and it got me thinking. i like my car’s litter bag for its basic functionality, but i’m not so crazy about the boring black or the way it attaches to the back of the seat (some very complicated cords that i’ve never really figured out). so i decided to make a new one. it took about an hour, but it probably would have been faster if i hadn’t been trying to photograph every single step. because bella dia says i should, here is a photo of the finished product right at the beginning (so you know what we’re making).
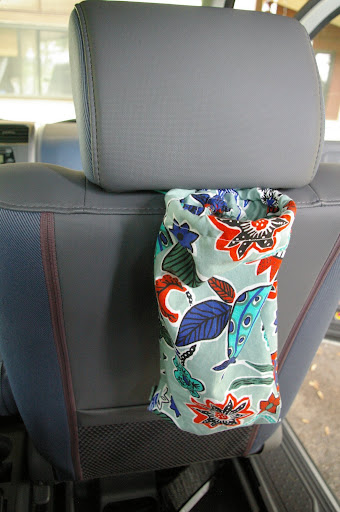
isn’t it cute? the fabric was from my stash. in fact, all of the supplies were from my stash. and here is a picture of everything that you’ll need:

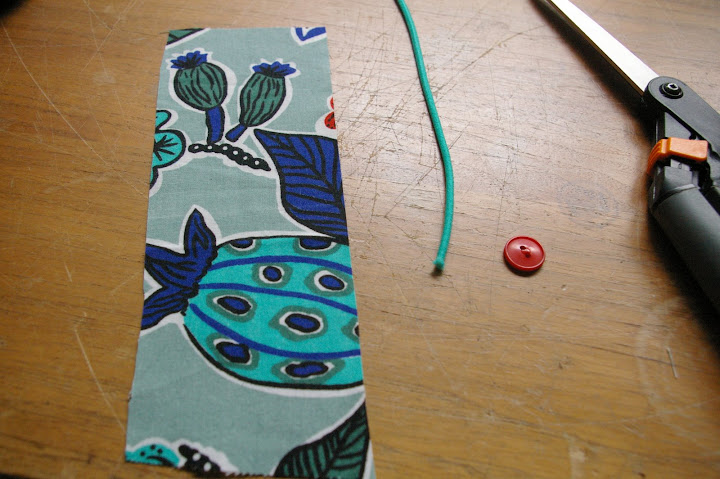
1. a piece of fabric, not too heavy, not too light. measurements are somewhat flexible (more about that later)
2. a plastic lid from a yogurt or cottage cheese type container
3. velcro
4. elastic (boring plain kind and some fancy stuff) (fancy stuff is optional)
5. a button
here’s what you do:
step 1: determine the size of fabric you will need. i’d recommend about 18-24″ long (depending on how long you want your trash bag to be), but the width will be determined by the circumference of your plastic lid. you can find that size one of two ways

measuring the lid and adding an inch or so for seam allowance or…
you can do it the slapdash way and just wrap the fabric around the lid and sort of eyeball it. cut the fabric to the correct width and length (more or less).
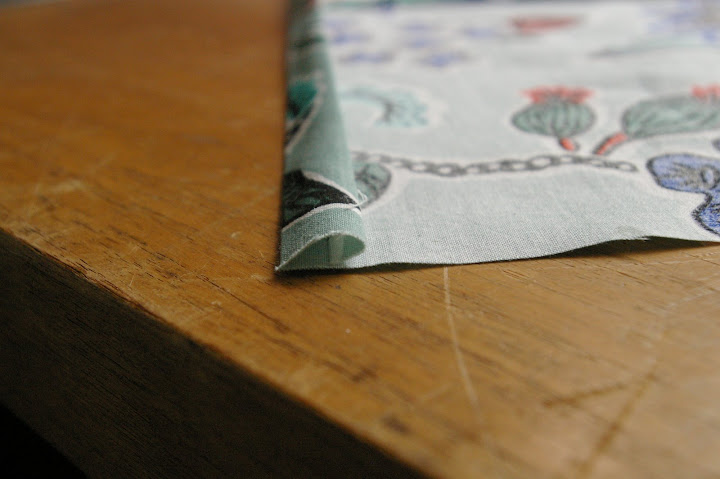
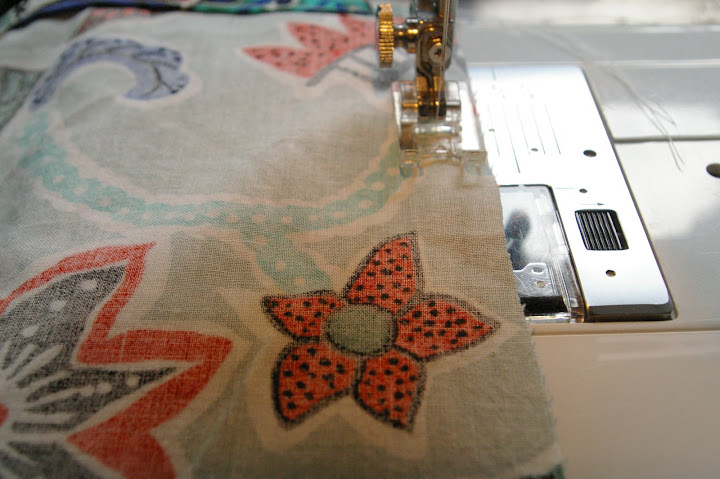
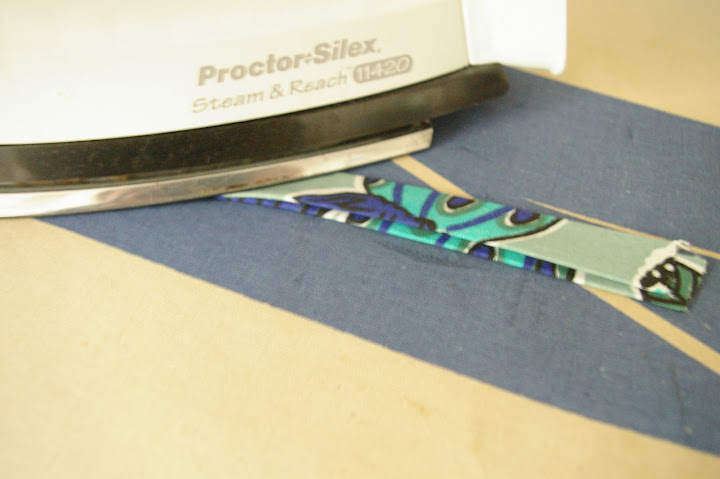
step 2: hem the bottom edge.
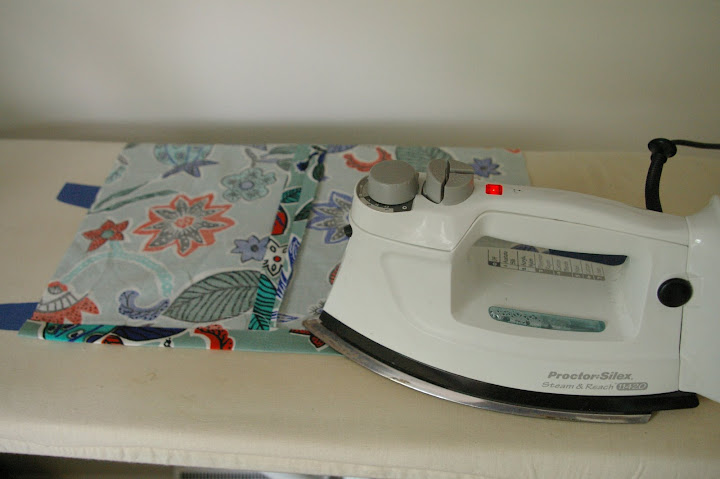
one of my favorite slapdash tricks is to use an iron instead of pins. iron the bottom edge of the fabric up about an inch or so, then fold the raw edge under and iron that too so that it looks something like this:
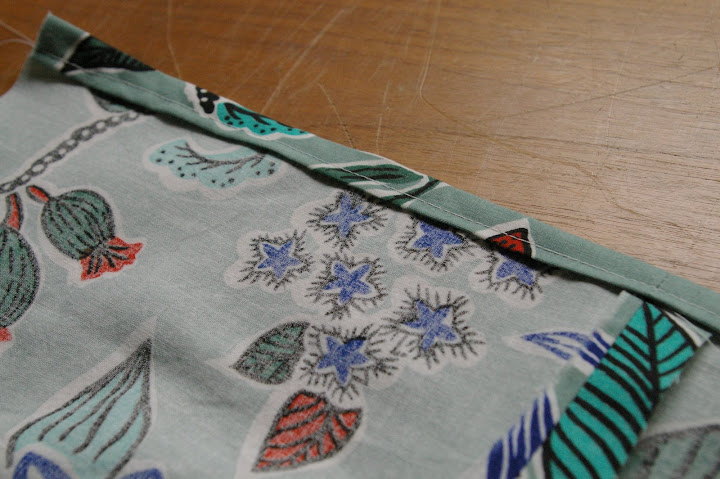
then sew it down to create a tidy hem:
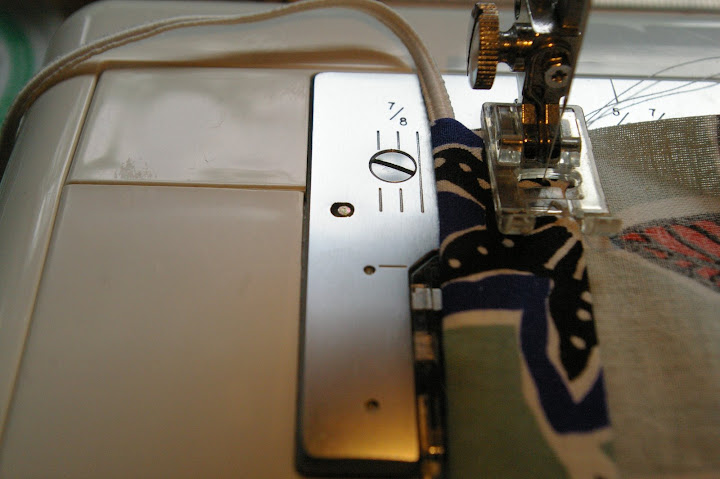
step 3: create a channel for elastic at the top:
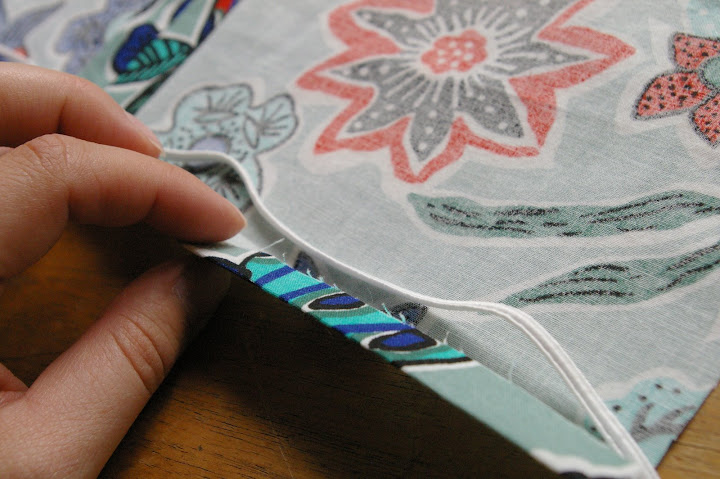
iron the top edge similar to the way you just did the bottom edge, then tuck elastic into the channel:
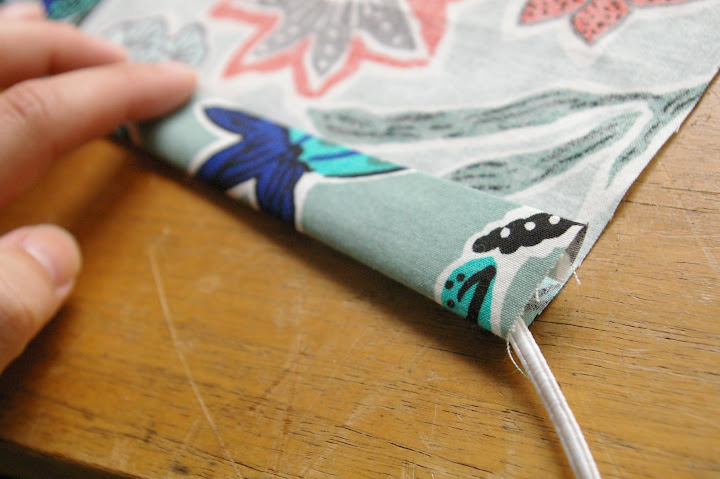
leave the elastic long for now (we’ll cut it down to size later) and sew the channel, being sure not to sew over the elastic:
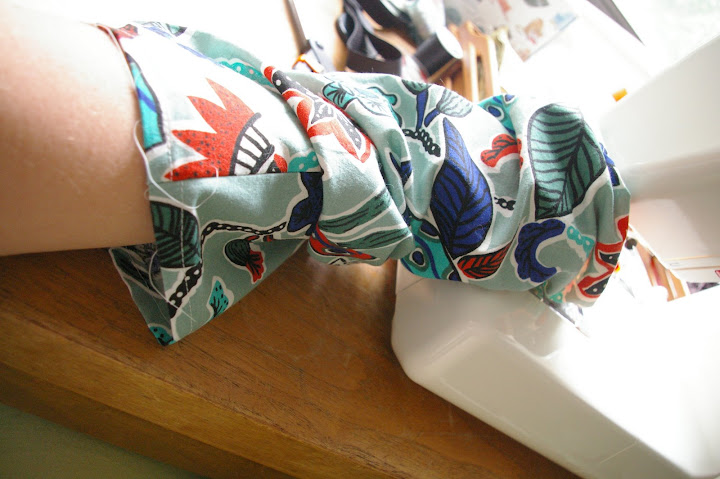
step 4: line up the two long sides (the only remaining raw edges) and sew the long seam, creating a long fabric tube:
don’t sew over the elastic (just stop before you get there).

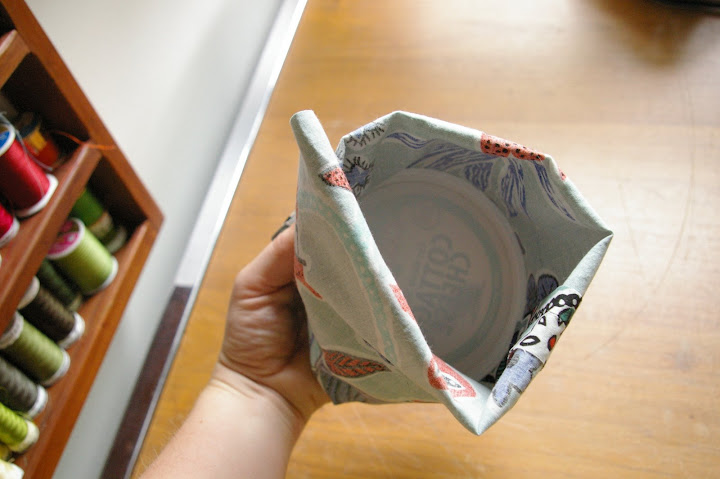
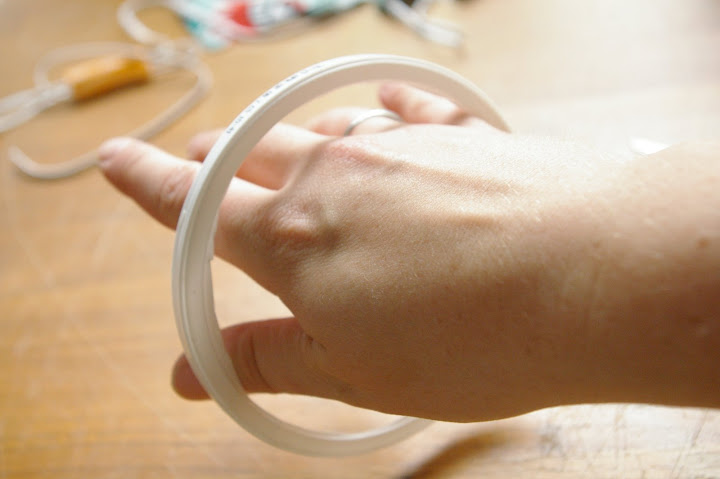
step 5: cut a ring from the plastic lid:
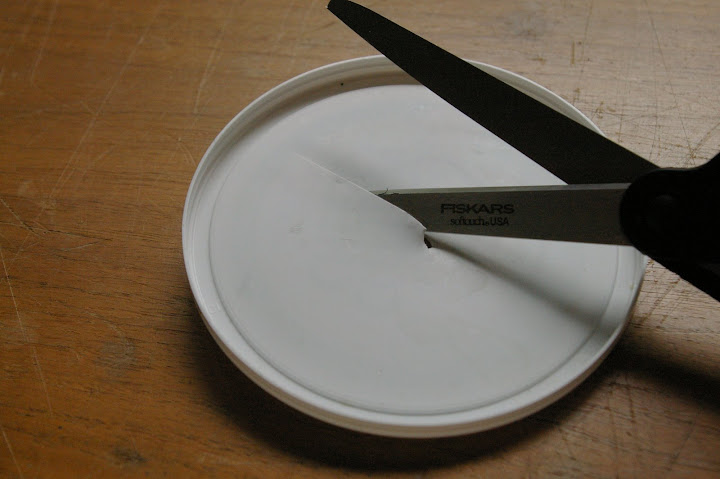
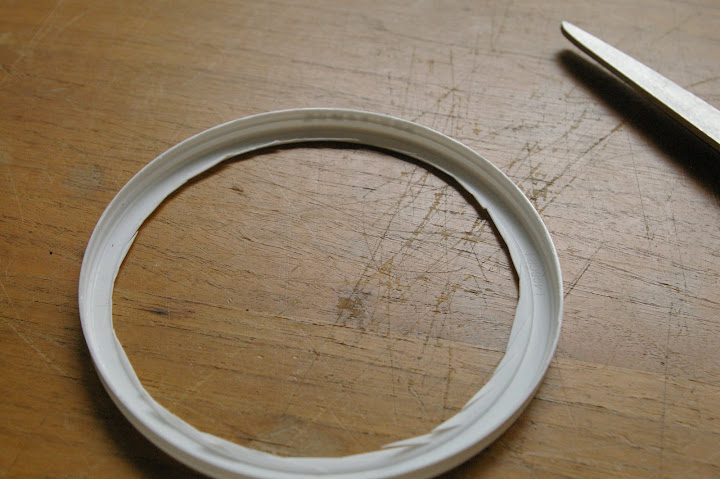
make sure that the opening is big enough for your hand to comfortably fit through.
step 6: position the plastic ring in the bag:
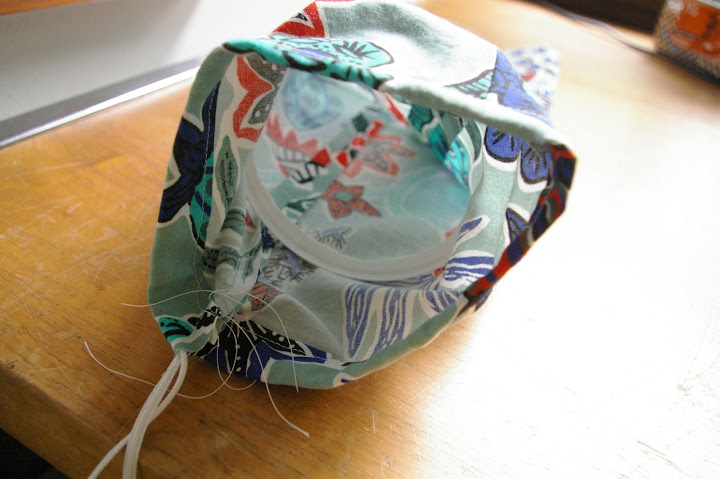
to make sure it’s in the right spot, pinch two edges together. they should just about meet in the middle:
step 7: sew the plastic ring into the bag:
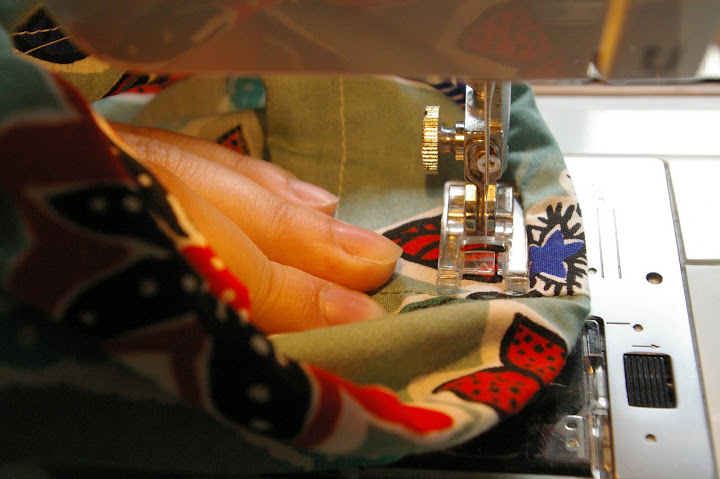
tuck the ring under the presser foot and sew right along the edge. try to maintain a constant distance between your seam and the elastic edge of the bag. i found it easiest to control this seam with my left hand tucked through the bag like this:
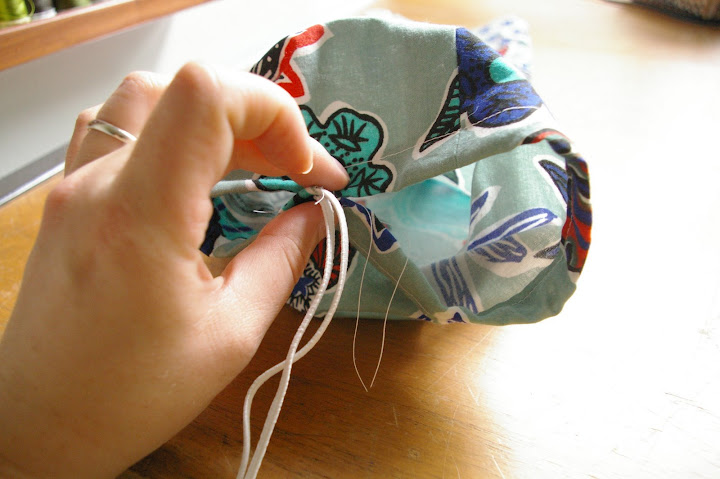
step 8: cinch the elastic:
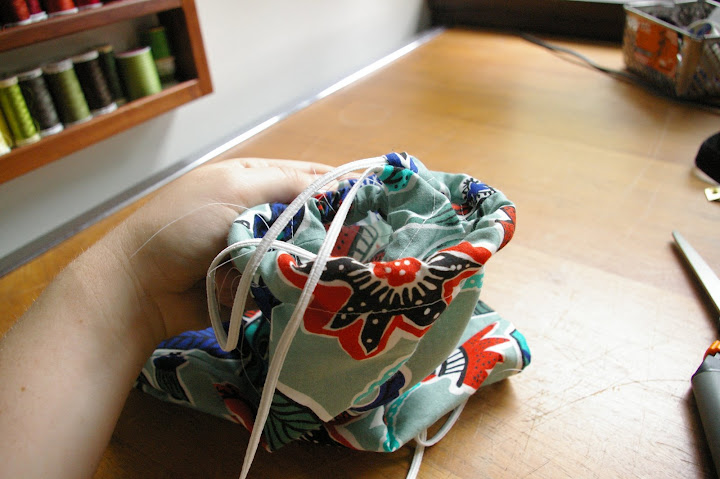
pull the long end of the elastic to cinch the top of the bag. again, make sure it’s not too tight for your hand to comfortably fit through. also, make sure you don’t let go of one end of the elastic like i did. oops. when you get the elastic the way you want it, sew back and forth over it several times to lock it in place:
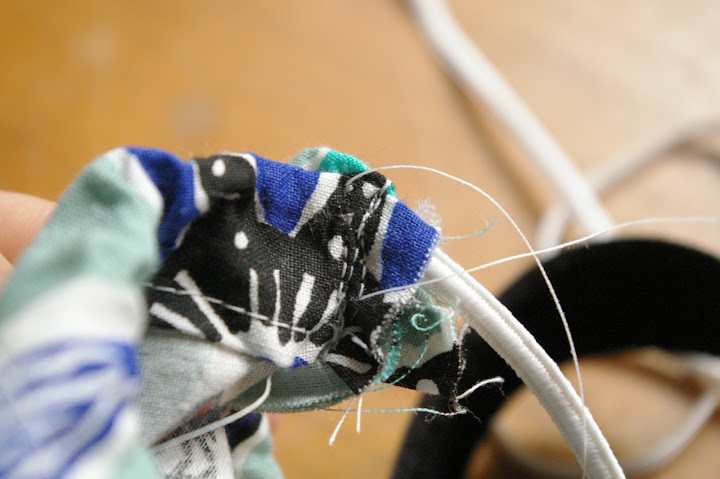
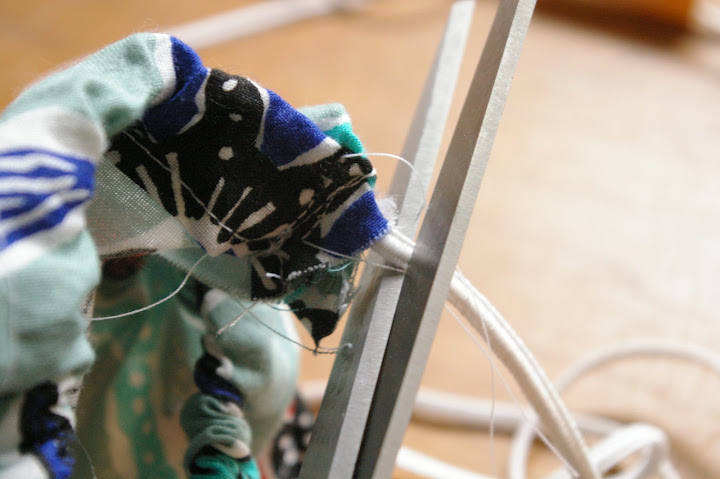
and now you can trim the elastic down to size:
step 9: add velcro closure to bottom. (this will allow for easy trash removal from your finished bag)
fold the bottom edge up
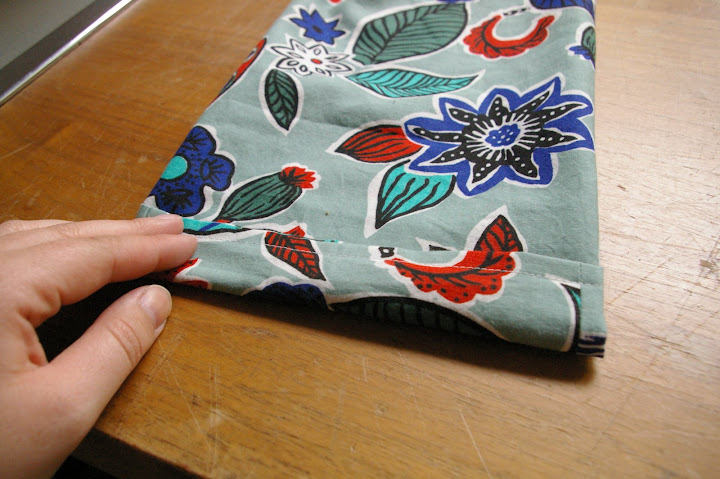
then fold it up again:
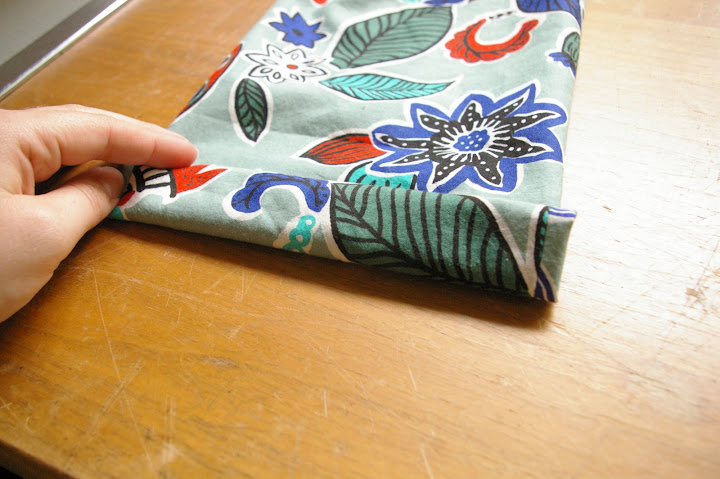
then, mark (with pins–this is one of the few uses i have for pins) where these two edges meet, like this:
this is where your velcro will be sewn.
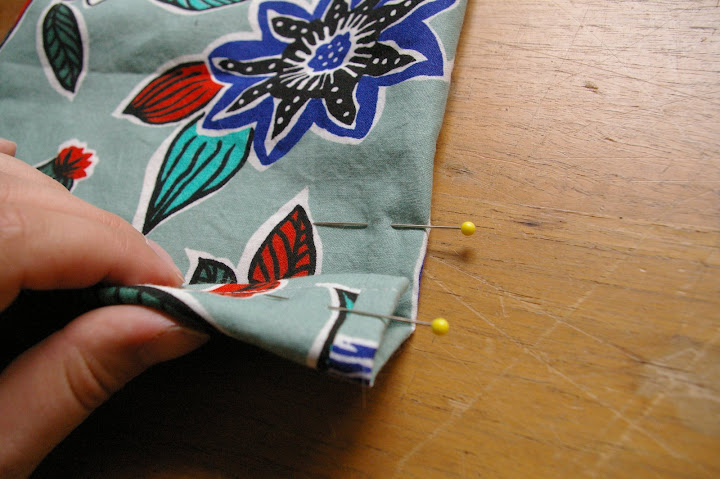
you could get all fancy-schmancy and measure your velcro, or you could do it the slapdash way and just lay the velcro on the bag and cut it to the right length. cut two pieces.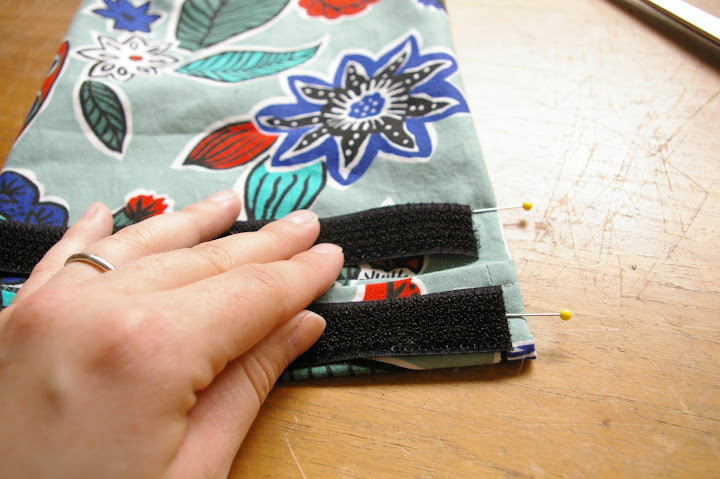
stick your place-marking pins into the velcro so you don’t forget where it goes. be sure to only pin through one layer of fabric (not both). and sew it on:
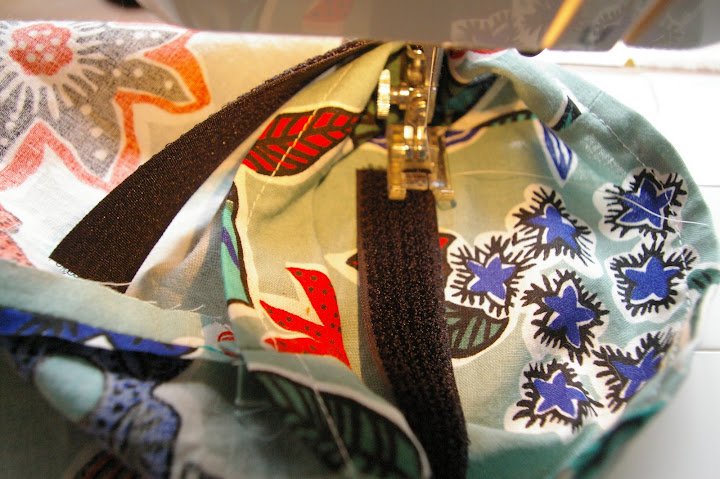
tip: the piece that’s farther up the bag is easier to sew if the bag is inside out. (pictured above)
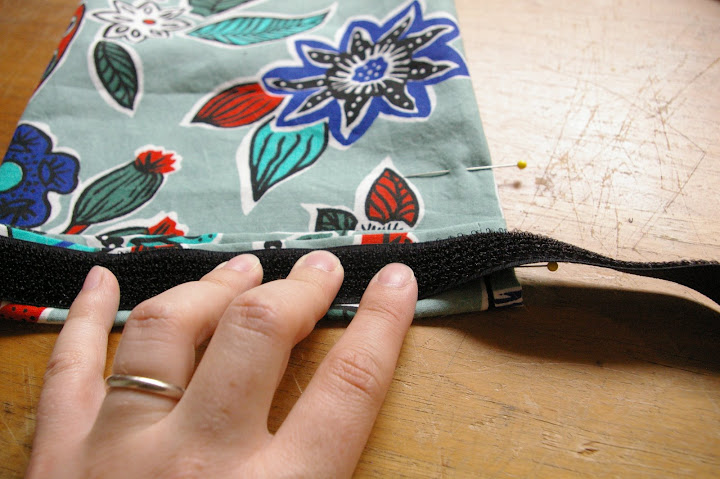
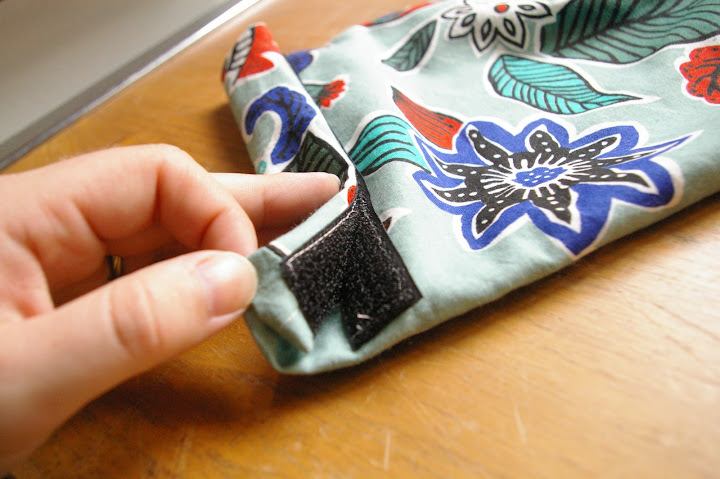
it should look like this:
step 10: make the strap. hmmmm…..you should maybe do this earlier in the process somewhere, but i’m not exactly sure when that would be….
cut a small strip of fabric (let’s say 4″x 10″? but the length sort of depends on your car and the size of the headrest posts). iron one edge over and hem it:
then fold it, lengthwise into quarters with the raw edges tucked inside and iron it flat, then sew it closed:
sew the non-hemmed end (raw edge tucked under) onto the back of the bag:
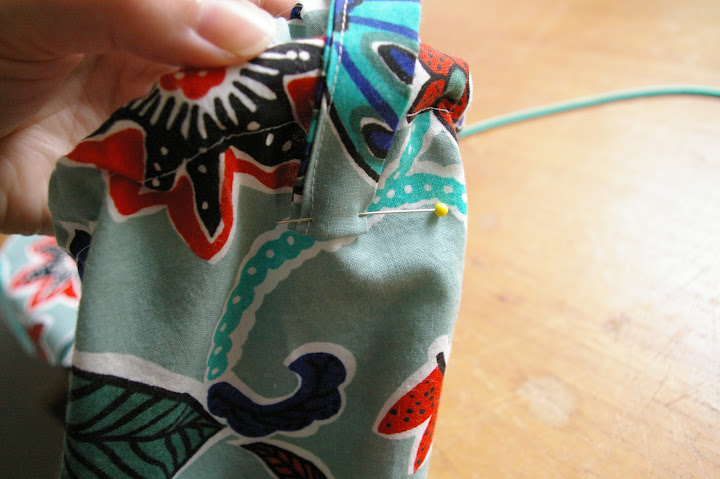
oooh! look at that. i used a pin for its intended purpose! be sure you’re sewing this on the back side of the bag or you’ll have to pick the stitches out and sew it again like i did.
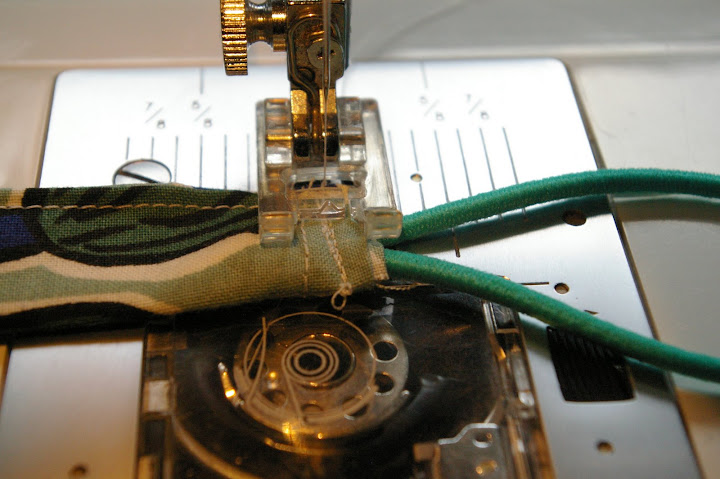
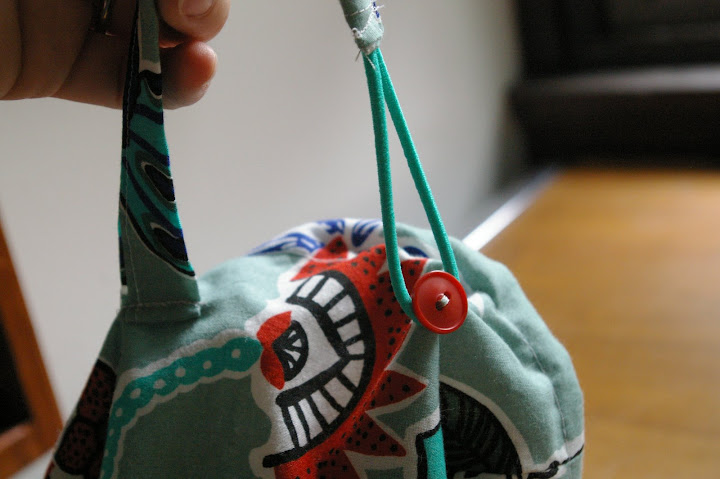
then, tuck a loop of the fancy elastic into the hemmed end of the strap:
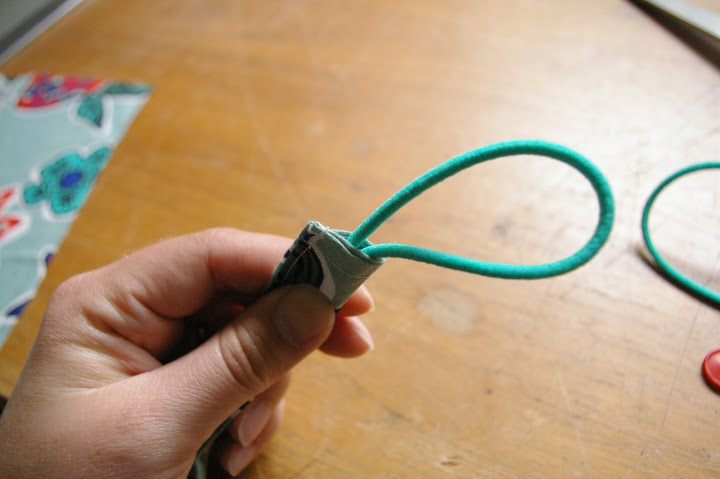
and sew it tightly:
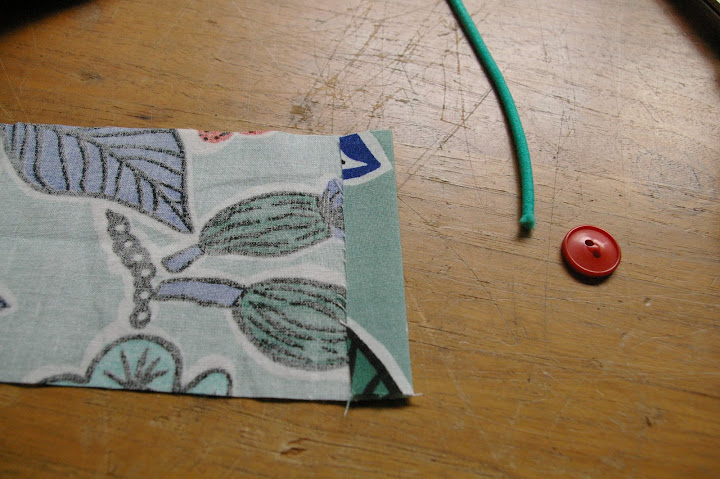
step 11: sew on the button
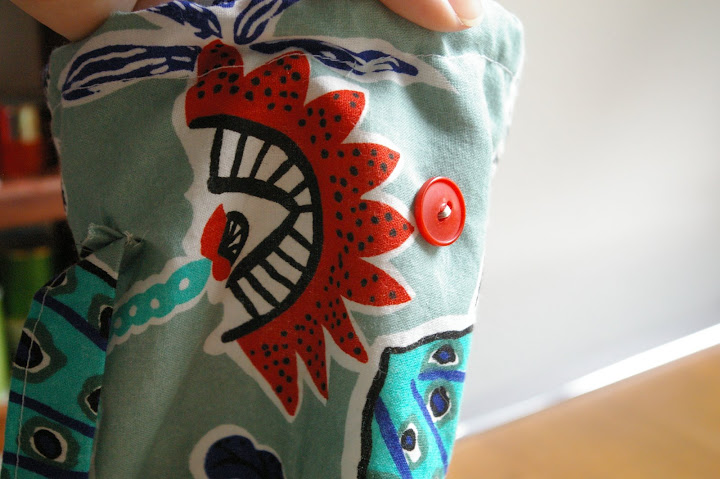
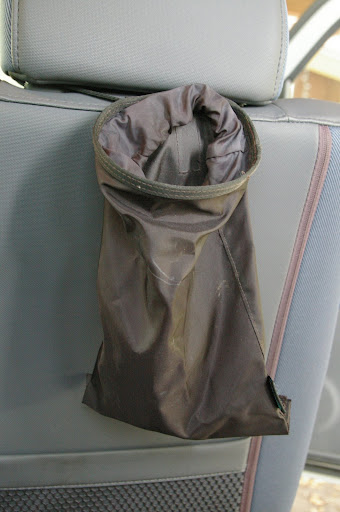
you’re done! here’s the original boring black bag:
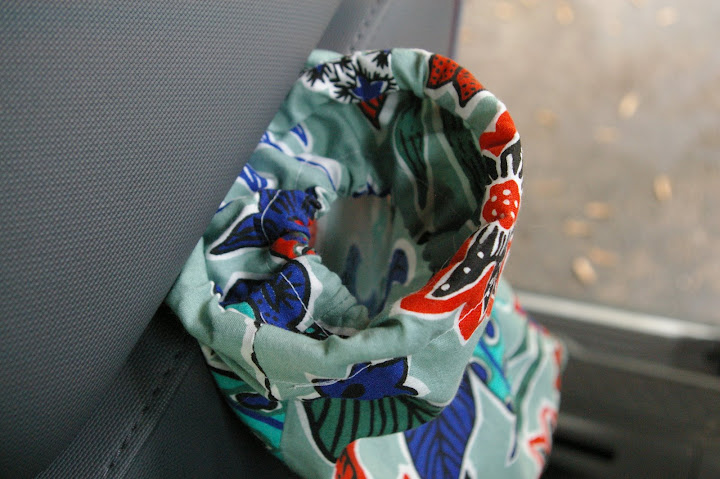
and here’s the new, pretty bag:
any questions?


3 Responses to slapdash seamstress vol. 1–car litter bag tutorial