
ah, that’s better. now we’ve got a proper series header. here’s another installment in the baby dude & the robot series. enjoy!
Baby Dude & the Robot: the final chapter? from carissaabc on Vimeo.

ah, that’s better. now we’ve got a proper series header. here’s another installment in the baby dude & the robot series. enjoy!
Baby Dude & the Robot: the final chapter? from carissaabc on Vimeo.
whew! final papers and exams + family reunions in faraway states = whirlwind of a few weeks and no posting! my dear mama requested more videos of the lil guy, so here are a couple of the latest (warning: this may end up being a mini-series of posts. i’m on a roll! maybe i should create a cute post header…):
baby dude & the baseball hat from carissaabc on Vimeo.
baby dude slices an egg from carissaabc on Vimeo.


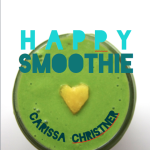
inspired by this blog post, and trying to come up with a way to package more inexpensive candy, but still make it special, i decided to make jellybean packets. again, they’re pretty simple and you could probably figure them out on your own, but just in case you prefer the step-by-step, here’s a photo tutorial with a few notes.
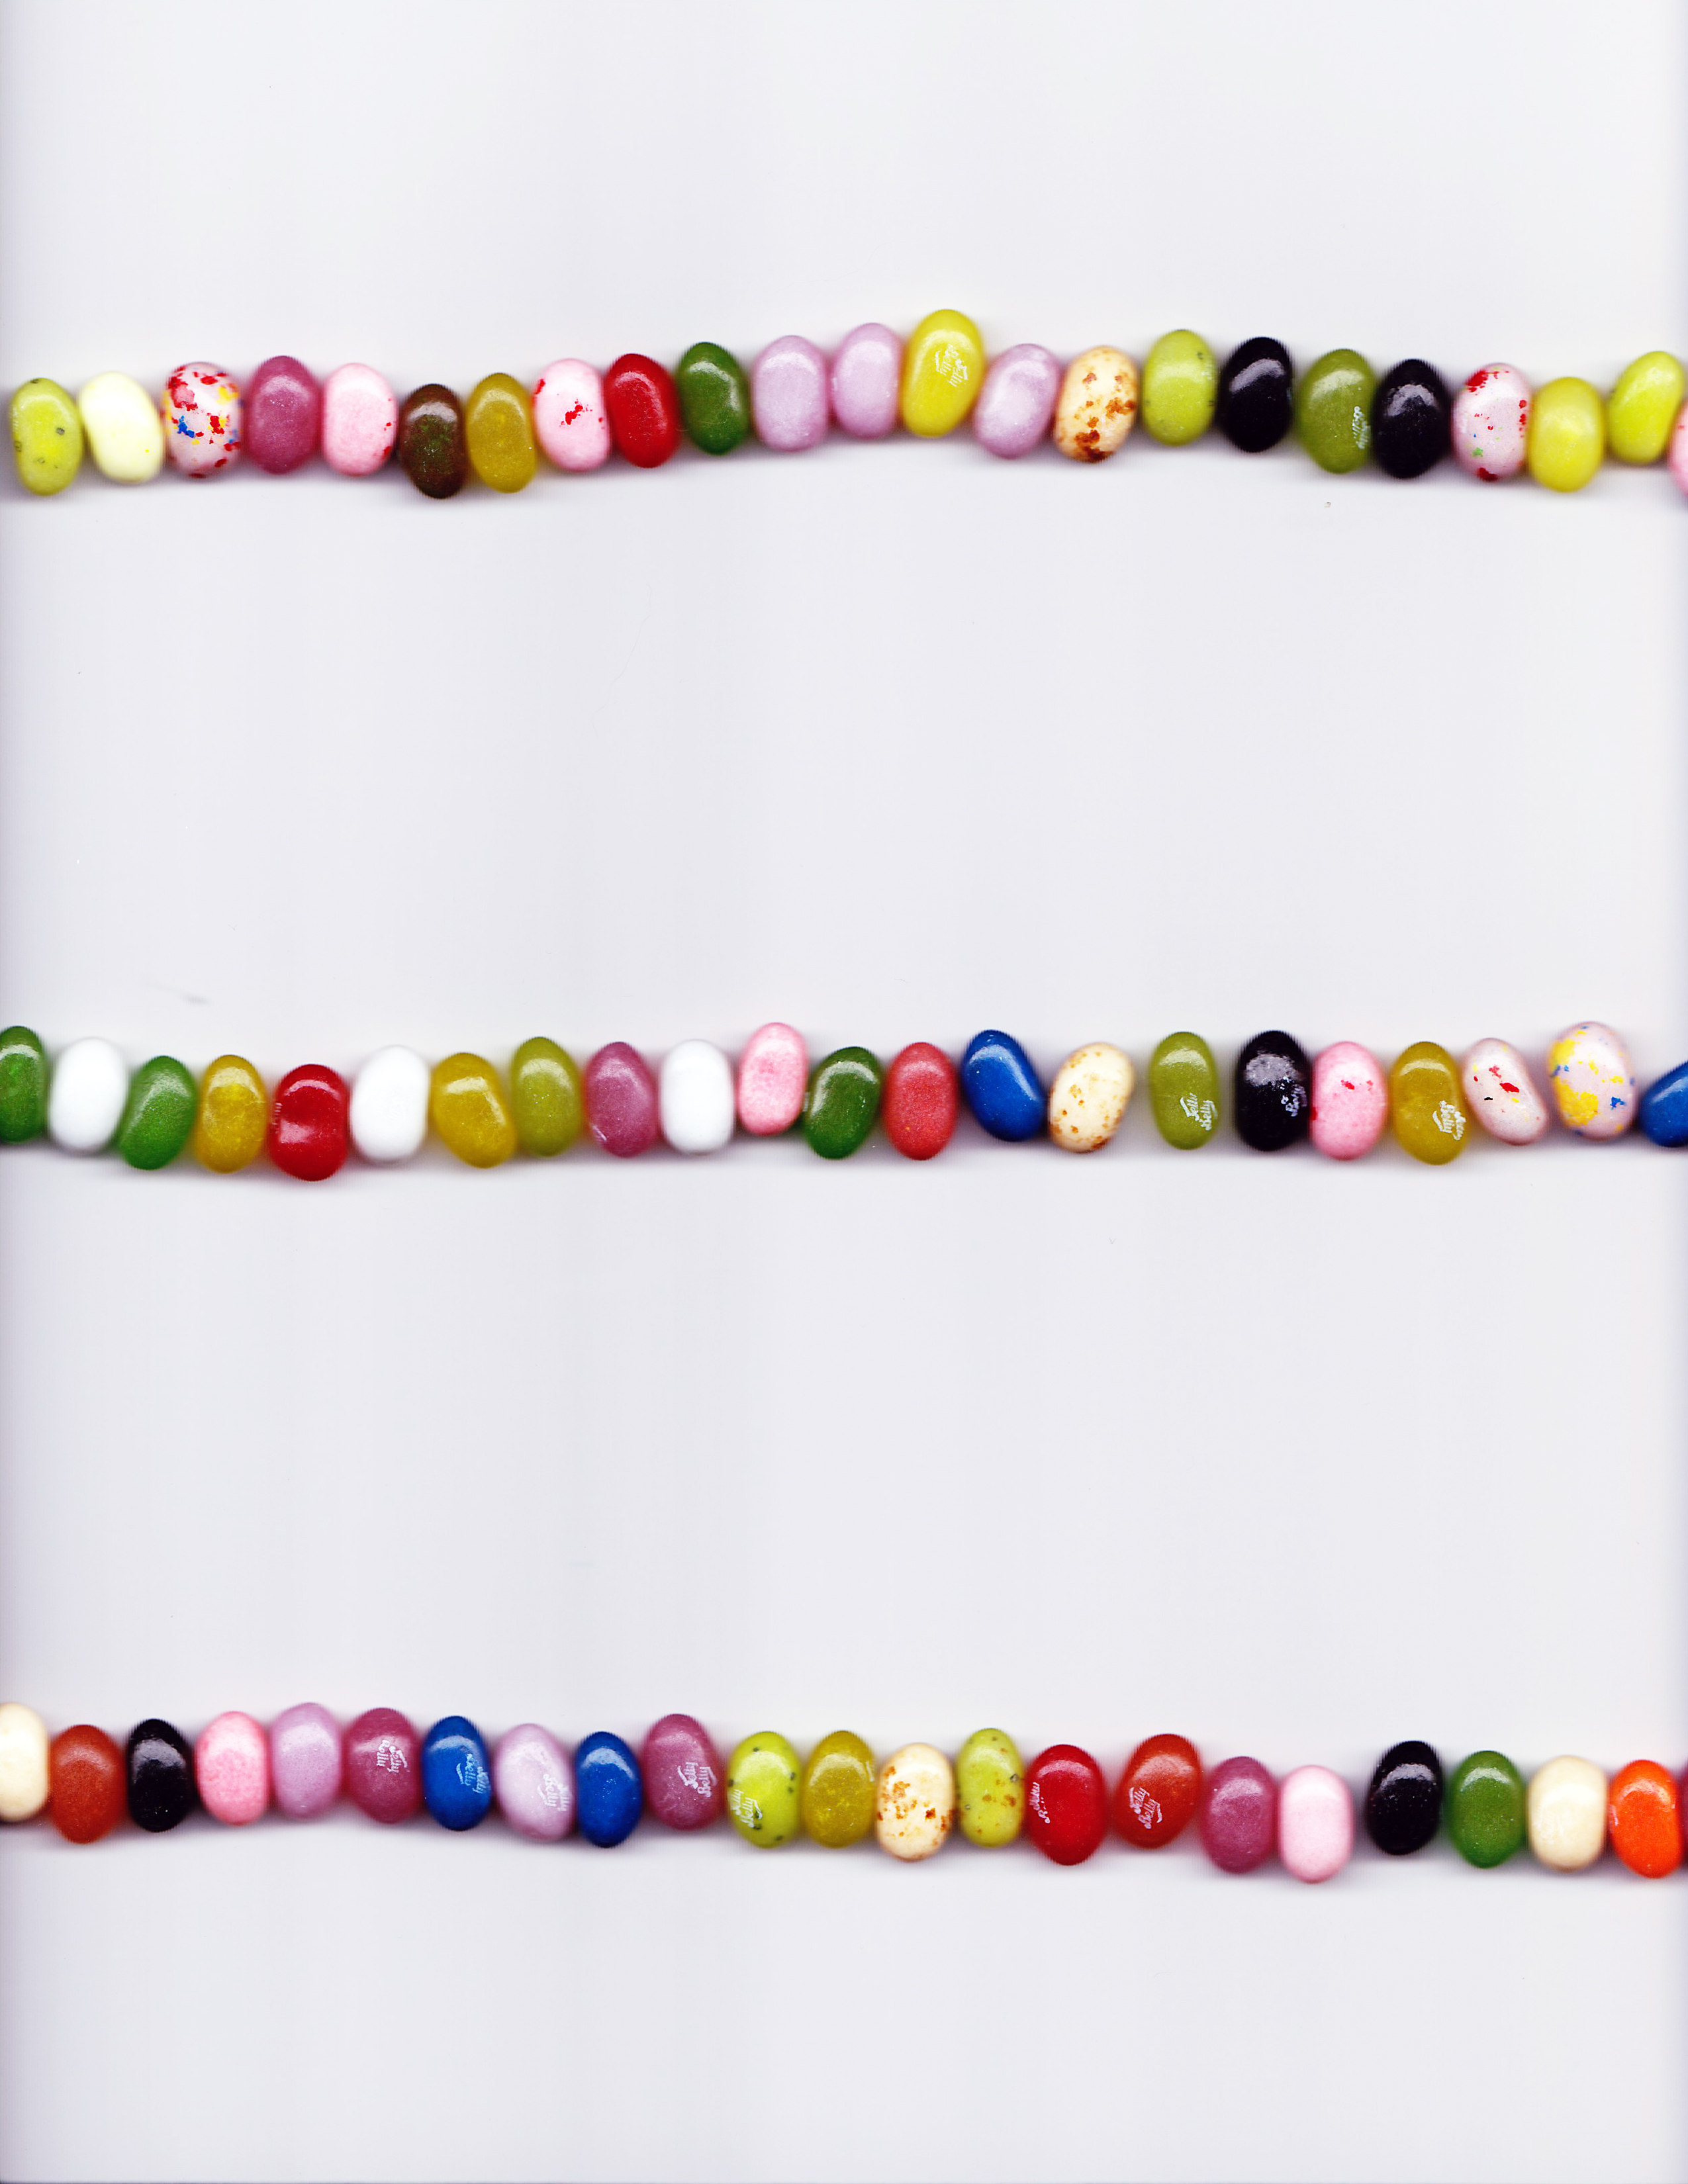
 print off the image you want for the outside of your packets (if you like my jellybeans, here’s a free download for you!). i tried it with both regular paper and cardstock and found that the regular paper worked better in my sewing machine. if you’d rather do the stapler method, the cardstock versions are a little sturdier and a little crisper.

trim off the white borders.

cut into three approximately equal strips. aim to get the jelly bean stripe in the middle of the piece of paper.

roll each strip into thirds and pinch the bottom edge.

 sew (or staple) approx 1/4″ from bottom edge.

fill with jellybeans (cute litle chenille chick optional). leave plenty of room at the top!

pinch the top shut perpendicular to your bottom seam (this is how it gets a triangle shape instead of just a flat pillow shape).

sew or staple your top seam shut.

and that’s it!
if you make this project (or any of the other projects in this series), i’d love to hear about it!
 i also bought some sidewalk chalk and i suppose i could have included it in the art kit, but it didn’t really fit and i didn’t want to get chalk dust all over everything, plus, i found this great idea online of how to package sidewalk chalk as party favors and just had to try it for myself. i didn’t have the fancy stripey or polka-dot chalk, but i still think they turned out pretty cute! they remind me of saltwater taffy. the process was incredibly fast and easy, but in case you’d like a little more detailed instruction, here’s a photo tutorial:

tear off pieces of wax paper about 3″ wider than the length of your chalk, then cut or tear these pieces in half, across the short width.


roll each piece of chalk in one of these (almost square) pieces of wax paper.

then, just twist the ends and you’re done!

just a quickie today to show you what i did with yesterday’s notebooks.

i decided to make an art kit that contains:
a homemade notebook
a box of crayons
a few special stickers (some are felt and some have wiggly eyes!)
a few easter tattoos
and a mini-tube of glitter glue.
i packaged them up in some plastic bags i had leftover from a previous project and added a bag top that i designed on my computer. i was inspired by this post and i really love the way that the packaging adds a special touch to items that, on their own, might get lost in a basket full of goodies. everything other than the notebooks was purchased at either target or hobby lobby and the total cost of each bag came to about $1.10. the font i used is called pea noodle’s girlfriends and is a free download from my favorite handwriting font website: fonts for peas. my bags were about 4.25″ wide (i also re-used the two plastic bags that the stickers had come in!) and if you’d like to use my bag tops, click on the link below to download the pdf.
step 1:Â Â print the .pdf onto cardstock, cut on the gray lines and then fold each bag top in half.
step 2:Â fill your bags with the goodies you want to include, press the air out (you don’t have to get all the air out, just try to avoid the “pillow” effect) and fold the top of the bag down a few times so that the bag fits the contents better.
step 3: tuck the folded bag inside the folded cardstock bag-top and staple in place. easy-peasy!

one of the things i also said i’d provide at this year’s easter egg hunt was a basket for any kids who forgot to bring their easter basket with them. i didn’t want to go out and buy a bunch of cheap easter baskets for “just in case,” but i didn’t want to give the kids a plastic grocery bag either. luckily, i remembered this classic paper bag basket idea! even martha knows this one. but just in case you’ve never seen it (or in case you want a less fussy version than martha’s), here’s my quickie photo tutorial:


maybe the kids could use their new art kit to make this simple paper bag easter basket look more festive!
i hope you’ve enjoyed my easter crafts series! i had (way too much) fun creating it for you. :)

this year, i am in charge of the annual easter egg hunt at my church. basically, that means i’m in charge of orchestrating the hunt, but i’m also responsible for providing some treats for the kids’ baskets. now, i could have taken the easy route and just bought a few big bags of candy, but i thought maybe parents might appreciate a little variety. and because i’m always reading inspiring blogs like this one, and because i think there will be less than 20 kids participating in this year’s hunt, and because (as mr. happy stuff would say) i’m always trying to make things more difficult than they need to be… i decided to put together a few non-food easter treats. and i thought i’d share them with you in case you’re looking for some easy easter basket ingredients.
 today’s installment is a little easter notebook. i drew three simple easter-y images (and left them as line drawings so kids could color them if they wanted to), scanned them into my computer and then printed them onto colored cardstock. i added 5 or 6 sheets of plain white paper (you could also use paper that’s been printed on one side for a “greener” alternative, but half of the notebook will have the printed side on the front of the page) and stacked them all together.


i then folded one of the white pages to find the center line. you could also draw the center line on with a pencil (i found the drawn line easier to follow than just the crease).


sew a straight line down your crease or center pencil line. if you don’t have a sewing machine, you could easily staple this part instead.

if you have a paper cutter, now would be a good time to use it,. if you don’t have one and if you’re too impatient to wait until you have access to one, a ruler and an exacto knife work just fine. these three notebooks ended up being different widths because i am not a graphic designer. i don’t think the kids will care.
if you’d like to make your own notebooks and you’d like to use my artwork, click on the link below to download the .pdf.
tomorrow, i’ll show you what i did with the notebooks!

have i mentioned here that i teach a monthly class at work called “needlereads”? it’s open to both teens and adults (and we get a lovely mix of both) and the idea is that each month we pick a project (usually from a sewing book) that we can complete from design to finished item in the two-hour time allotment. i love this class. i love being able to show people how easy sewing can be if you just don’t stress out about it looking perfect. i love the “aha!” moments that i get to witness. i love the pride everyone has in their finished items. i love that the teens and adults in this class interact as equals. and i love that i get to do sewing projects as part of my work at the library. 
for the april meeting, the group asked that we make pincushions. fabulous! i’ve been needing a new pincushion anyway! but i’ve never really made one, so i decided to do some pattern testing first. the pincushion that inspired this request was the cupcake pincushion from simply sublime gifts by jodi kahn. this is a great little book with some really cute and quick projects, but… i’m not a big fan of the cupcake pincushion pattern. i’ll go ahead and teach it to anyone who wants to try it, but it’s all hand-sewing (making it almost impossible to complete in-class) and the angles of the “frosting” are really tricky. my final “frosting” looks considerably different than the picture in the book and i tried it several different times with pins before i just gave up and sewed it the best i could.
i thought i’d try a few others to see if i liked them better, so the second pincushion i made was from last minute patchwork + quilted gifts by joelle hoverson. i liked this pattern much better. actually, i’ve loved all the patterns i’ve made from this book. i learned a few things about how best to do the thread overlays, but i’d be happy to teach this one in class.
does anyone else have a favorite (quick) pincushion pattern they’d like to suggest? it could be from a book, or a website or even just a flickr photo. we’ll take inspiration wherever we can find it!
p.s. i had no idea how hard it would be to photograph pincushions! the pins really throw off your depth of field.
p.p.s. if you’re local and interested in attending a needlereads class, they are on the last monday of each month (usually) at 7:00. if you need more info, contact me!
my family has a tradition of making our hard-boiled eggs into “humpty dumpty eggs.” they’re always one of my favorite foods to eat when i’m feeling under the weather, and what with the colds that both the happy baby and i have been sniffling through for the past three weeks (!) i thought it might be fun to try feeding him hard-boiled eggs, humpty dumpty style. turns out he looooooves them (he’s been known to eat two whole eggs at one sitting. for my kid who doesn’t usually eat a ton of food, that’s really saying something!) so i thought i’d put together a little video tutorial for those of you who may have never enjoyed your eggs like this.
humpty dumpty eggs from carissaabc on Vimeo.
as a side note, i was watching this video this evening for editing purposes and when it came to the part with the rhyme, the happy baby (who was sitting beside me, watching the video too) totally cracked up. we ended up watching it three times and he laughed every time. in fact, he’d start getting a grin on his face as soon as we got close to that part. i love watching child development stages unfold in front of my eyes. i also loooove his little giggle.
my last post promised photos of the other pants i’d made, so here’s the before (women’s old navy size 4):

and here’s the after:


the original pair had one of those short zippers that low-waisted pants often do and i thought that might work better. it did, but the rise of the pants was actually smaller than the rise in my baby pants pattern (although i think it would have been fine if i’d remembered that my pattern included extra height on top to be folded over for the waistband and that i didn’t need to do that for these pants since they already had a waistband, but oh well). i also think the hips are a leeeetle bit too generous, even with cloth diaper butt, but i’m too lazy to take these apart and re-sew them. they’ll work fine for now and i’ll take those notes into consideration when i make the next pair.


